BRISKET ON THE SMOKER
Championship BBQ Recipe, Exclusively for Gustor Customers
Smoked Brisket on a Pellet Smoker
Recipe by Dimitri Zetssche, multiple BBQ champion, specially written for Gustor customers!
There is nothing quite like a perfectly smoked brisket: tender, juicy, with a smoky crust (the famous "bark") that every BBQ enthusiast dreams of. And with a pellet smoker, that dream is well within reach.
In this guide, I'll take you step by step through my favorite method for preparing a Texas-style brisket on a pellet smoker.
What Is a Brisket?
Brisket comes from the breast section of the animal and consists of two distinct muscles:
- Flat: the lean, flatter section.
- Point: the fattier, juicier section.
A complete brisket is often referred to as a whole packer brisket, meaning the flat and point are still attached.
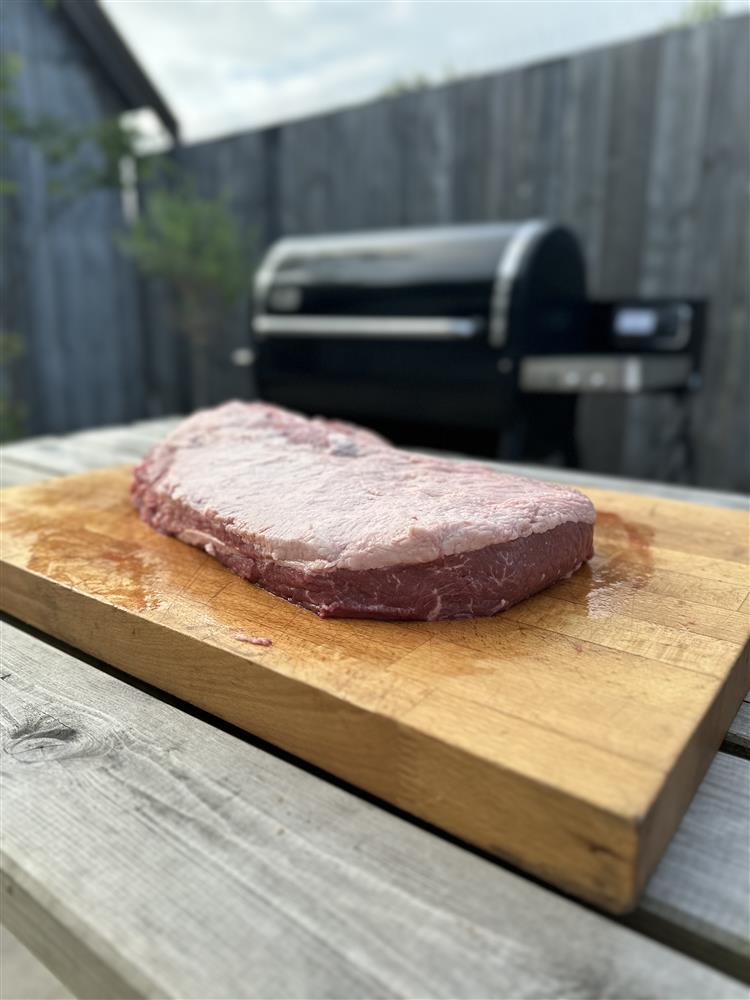
Choosing the right brisket is essential. Opt for a breed with naturally good marbling. A brisket without sufficient intramuscular fat will never deliver the juicy result you're looking for.
If possible, choose a brisket where the flat maintains a consistent thickness throughout. This helps ensure even cooking. Also look for a brisket with a good fat cap.
Equipment Needed
- A smoker (pellet smoker, offset smoker, etc.)
- A reliable meat thermometer
- Aluminum foil or butcher paper
- Spray bottle filled with water
- Braai BBQ Steak & Burger Rub
- Braai BBQ Beef Rub
- Optional binder: mustard or another liquid
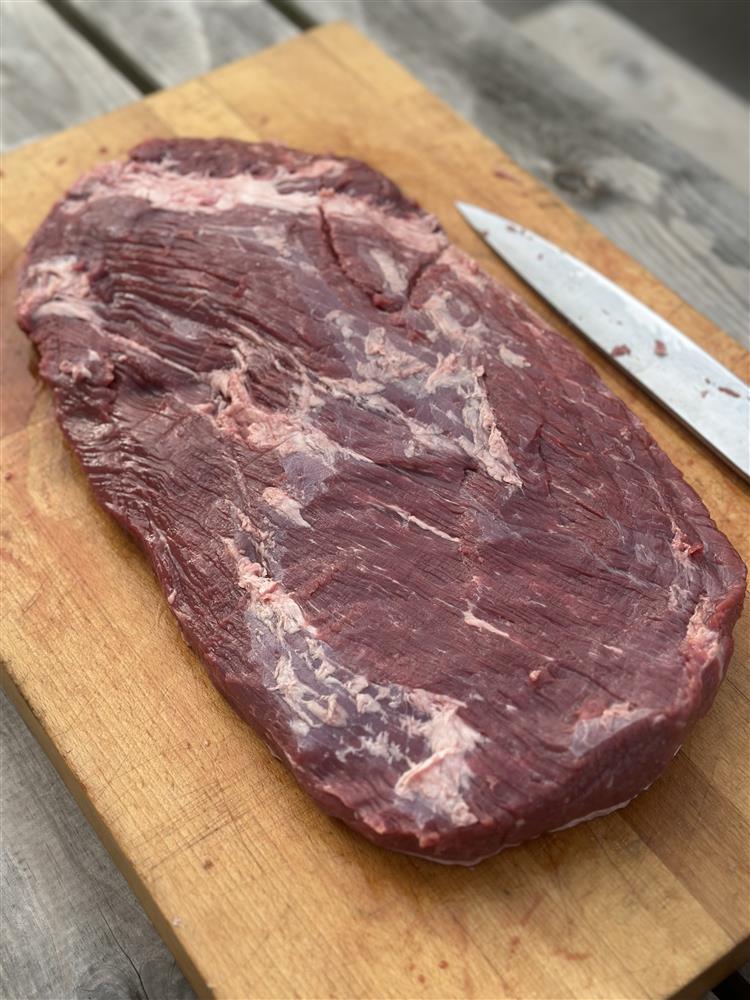
Preparing the Brisket: Trimming and Seasoning
You cannot simply take a brisket out of the package, season it, and place it on the smoker. Proper trimming is essential to create an aerodynamic shape that allows heat and smoke to circulate evenly around the meat.
Large chunks of fat should be removed. The fat cap should be trimmed to an even thickness of approximately 4-5 mm (¼ inch).
Remove any loose or protruding pieces of meat. Round off the corners of the flat so that hot air can flow smoothly around it.
Trimming brisket takes practice. It may take several attempts before you start noticing all the details. A common saying in BBQ circles is:
"If it doesn't look pretty, it can't cook pretty."
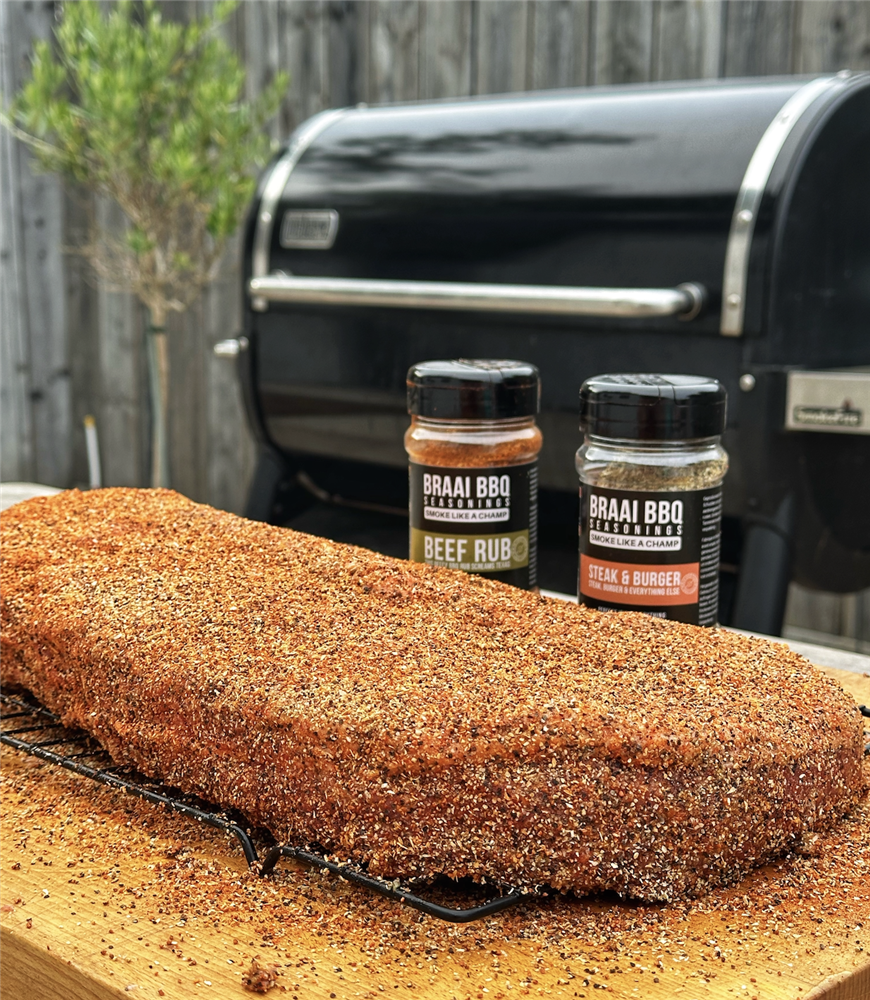
Applying the Rub
For this recipe, we use two rubs to build a deep, robust flavor:
- Braai BBQ Beef Rub for its strong black pepper profile.
- Braai BBQ Steak & Burger Rub for additional garlic notes.
Apply the rub generously to all surfaces of the brisket and allow it to sit for 30 to 40 minutes before placing it on the smoker.
Binder or No Binder?
A binder is simply used to help the seasoning stick to the meat.
If your brisket is already moist when removed from the packaging, you generally do not need a binder. If not, you can use mustard, water, oil, or another liquid.
The idea that a binder should add flavor is a misconception.
Likewise, mustard does not "cure" or marinate the meat. You only use enough binder to create a sticky surface for the seasoning. The quantity is too small and the contact time too short to significantly affect the flavor.
Smoking the Brisket
Smoking brisket is an exercise in patience.
The objective is to develop a beautiful bark while transforming tough collagen into silky gelatin. This requires both heat and time.
Equally important is the resting period after cooking. During smoking, muscle fibers contract and push moisture toward the center of the meat. A proper rest allows those juices to redistribute throughout the brisket.
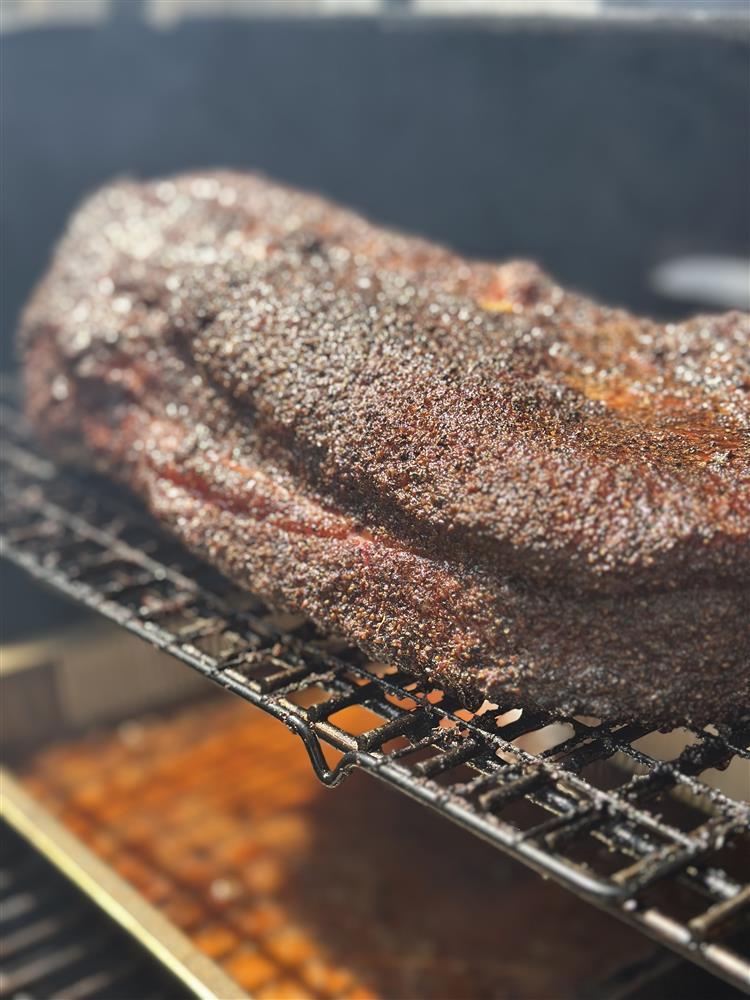
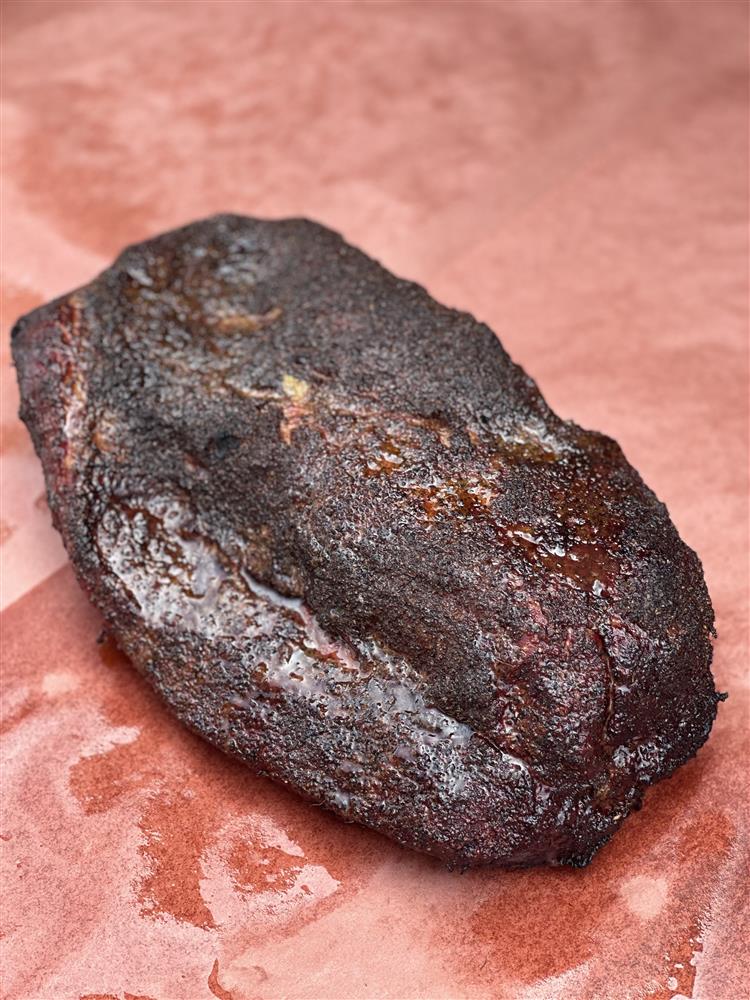
Phase 1: Building Bark and Color
The first phase focuses on developing a rich color and strong bark.
I set my pellet smoker to 120°C (250°F) and place the brisket on the upper rack where convection is strongest.
Leave the brisket undisturbed for at least two hours.
During this time:
- The fat begins to render into the rub.
- Smoke adheres to the surface.
- Heat starts forming the bark.
After approximately two hours, check the bark. If it has become firm enough that it cannot easily be rubbed off with your fingers, you're on the right track.
Phase 2: Preparing for the Wrap
At this stage, many pitmasters make a common mistake.
Temperature alone is NOT the signal to wrap.
Many people believe they should wrap at a specific internal temperature. This is incorrect.
Temperature is merely a reference point, not a trigger.
Even if your brisket reaches 80°C (176°F), you should not wrap until the following indicators are present:
1. Color
The bark should be very dark.
2. Fat Rendering
The fat cap should feel soft and almost pudding-like.
When pressed, it should spring back slightly. Press harder and your finger should nearly push through it.
3. Meat Shrinkage
The brisket should have lost enough moisture during the first phase. If wrapped too early, excess moisture can soften and ruin the bark.
At this stage I increase the smoker temperature to 130°C (265°F).
Every 30 to 40 minutes I spray the brisket lightly with water.
This serves two purposes:
- Cooling the surface slightly.
- Helping smoke continue to adhere to the meat.
As the brisket gets hotter and drier, smoke particles stick less effectively. Spritzing helps maintain smoke absorption.
My brisket usually remains in this phase for another three hours before wrapping.
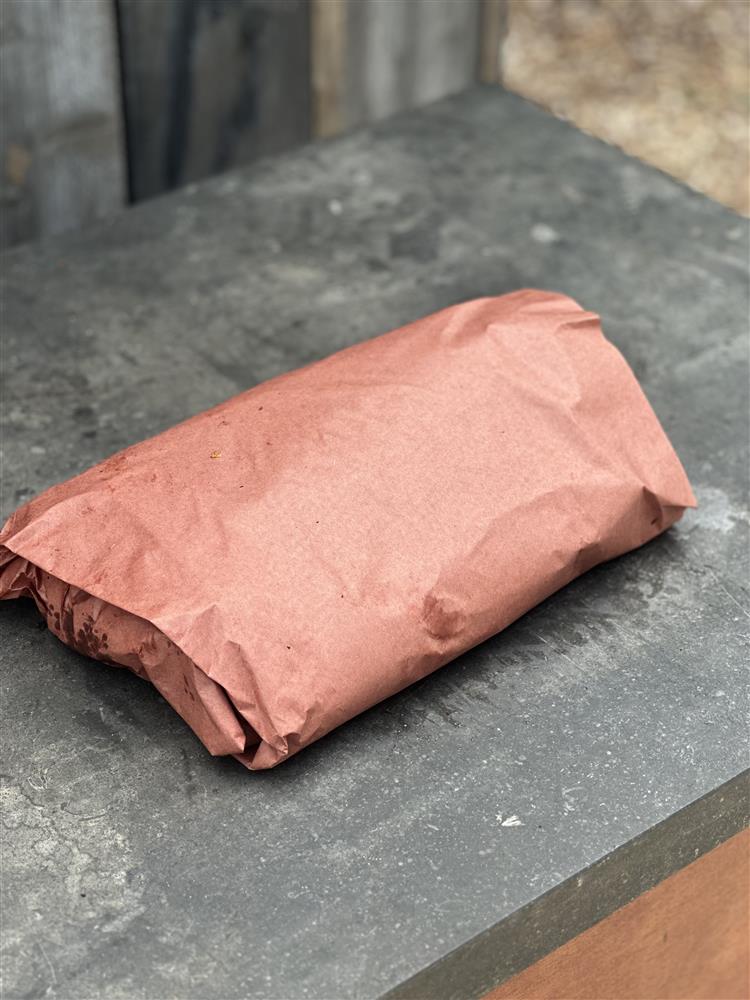
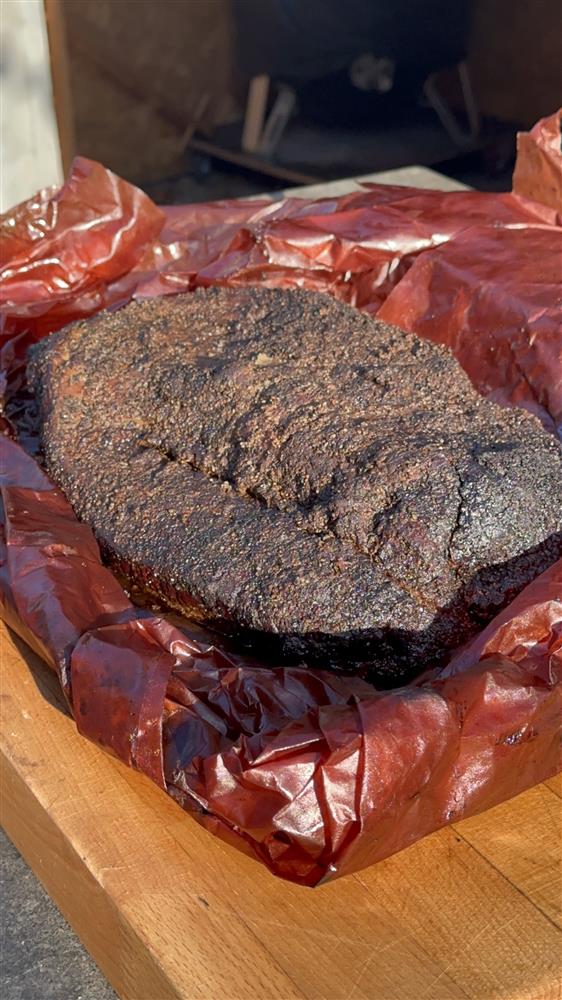
Phase 3: Wrapping the Brisket
There are several wrapping methods, each with advantages and disadvantages.
Ultimately, there is no right or wrong choice—only personal preference.
Texas Crutch (Aluminum Foil)
- Faster cooking.
- Steam remains trapped inside.
- Softer bark.
- Many pitmasters add butter, tallow, or broth before sealing.
Butcher Paper
- Slower cooking.
- Allows moisture to escape.
- Better bark preservation.
The purpose of wrapping is to steam the brisket through the final stages of cooking.
Regardless of the wrapping method you choose, always keep the bark facing upward. This prevents it from soaking in liquid and becoming soft.
You've worked hard to create that bark—and it contains a tremendous amount of flavor.
After wrapping:
- Return the brisket to the smoker.
- Increase the temperature to approximately 135-140°C (275-285°F).
The brisket is finished when the flat becomes probe tender.
Use a toothpick or thermometer probe and insert it into the flat.
If it feels like inserting it into warm butter, the brisket is done.
If not, continue cooking.
Most briskets finish somewhere between 95°C and 100°C (203°F to 212°F) internal temperature, but tenderness—not temperature—is the true indicator.
Let the Brisket Rest Properly
Once the brisket is fully cooked, proper resting is absolutely essential.
This is one of the most overlooked steps in BBQ.
The moisture inside the meat has been driven toward the center during cooking. A long rest allows those juices to redistribute evenly.
Personally, my favorite method is to let a whole packer brisket rest overnight—12 hours or longer—before slicing.
Keep the brisket wrapped and place it in an oven set between 70-75°C (160-170°F).
This temperature is:
- Warm enough to keep the brisket safe.
- Cool enough to prevent further cooking.
No Holding Oven Available?
If you cannot hold the brisket overnight, I consider 3 hours to be the absolute minimum rest period.
Keep the brisket wrapped.
Wrap it further in a thick towel or blanket and place it in an insulated cooler.
Even the Gustor polystyrene delivery box works perfectly.
Don't worry about the brisket cooling down. It contains enough thermal energy to stay warm throughout the resting period.
How to Slice a Brisket
The flat and point should be sliced differently.
Flat
Slice the flat into slices approximately the thickness of a pencil.
Always slice against the grain.
Point
Once you reach the point muscle, rotate it approximately 90 degrees.
Slice it into pieces about the thickness of a finger.
This ensures maximum tenderness and showcases the unique texture of each muscle.
Foto credits aan: www.overthefirecooking.com


Can I Cook This on a Kamado?
Absolutely.
However, temperatures should be adjusted slightly.
A kamado tends to cook more aggressively than a pellet smoker or offset smoker.
I recommend:
- Starting at 110°C (230°F).
- Gradually increasing to 125°C (255°F) during the cook.
This approach will provide a gentler cooking environment and help achieve the same excellent results.
Enjoy your brisket and remember: great BBQ is all about patience. The brisket is ready when the meat tells you it's ready—not when the thermometer does.