Who Better to Learn BBQ From Than a BBQ Champion?
Well, we thought we'd let real BBQ champions do the talking!
Dimitri Zetsche and Tom Bertels make up the Barbecoa BBQ Team. Since launching the team in 2022, they have earned multiple championship titles and have been invited to compete against the world's best pitmasters at several World Championships in the United States.
Some of their achievements include:
-
13th Place at the SCA World Championship Ribs Competition in Fort Worth, Texas (March)
-
Belgian BBQ Ribs Champion 2022
-
Belgian BBQ Ribs Vice-Champion 2023
-
Belgian BBQ Pork Vice-Champion 2023
-
Belgian BBQ Steak Vice-Champion 2023
-
Ranked #31 in the World for BBQ Ribs in 2023
Want to get to know them better? Check out their Facebook and Instagram pages.
St. Louis-Style Ribs Recipe
In this guide, you'll learn from the Belgian Champion of Low & Slow BBQ Ribs how to smoke Gustor's St. Louis-style ribs like a true champion.
Forget the famous 3-2-1 method and put your thermometer aside.
We're going to teach you how to cook by feel, not by temperature.
Your ribs can technically reach the "perfect" temperature, but that doesn't necessarily mean they're properly cooked and ready to eat.
Equipment Needed
-
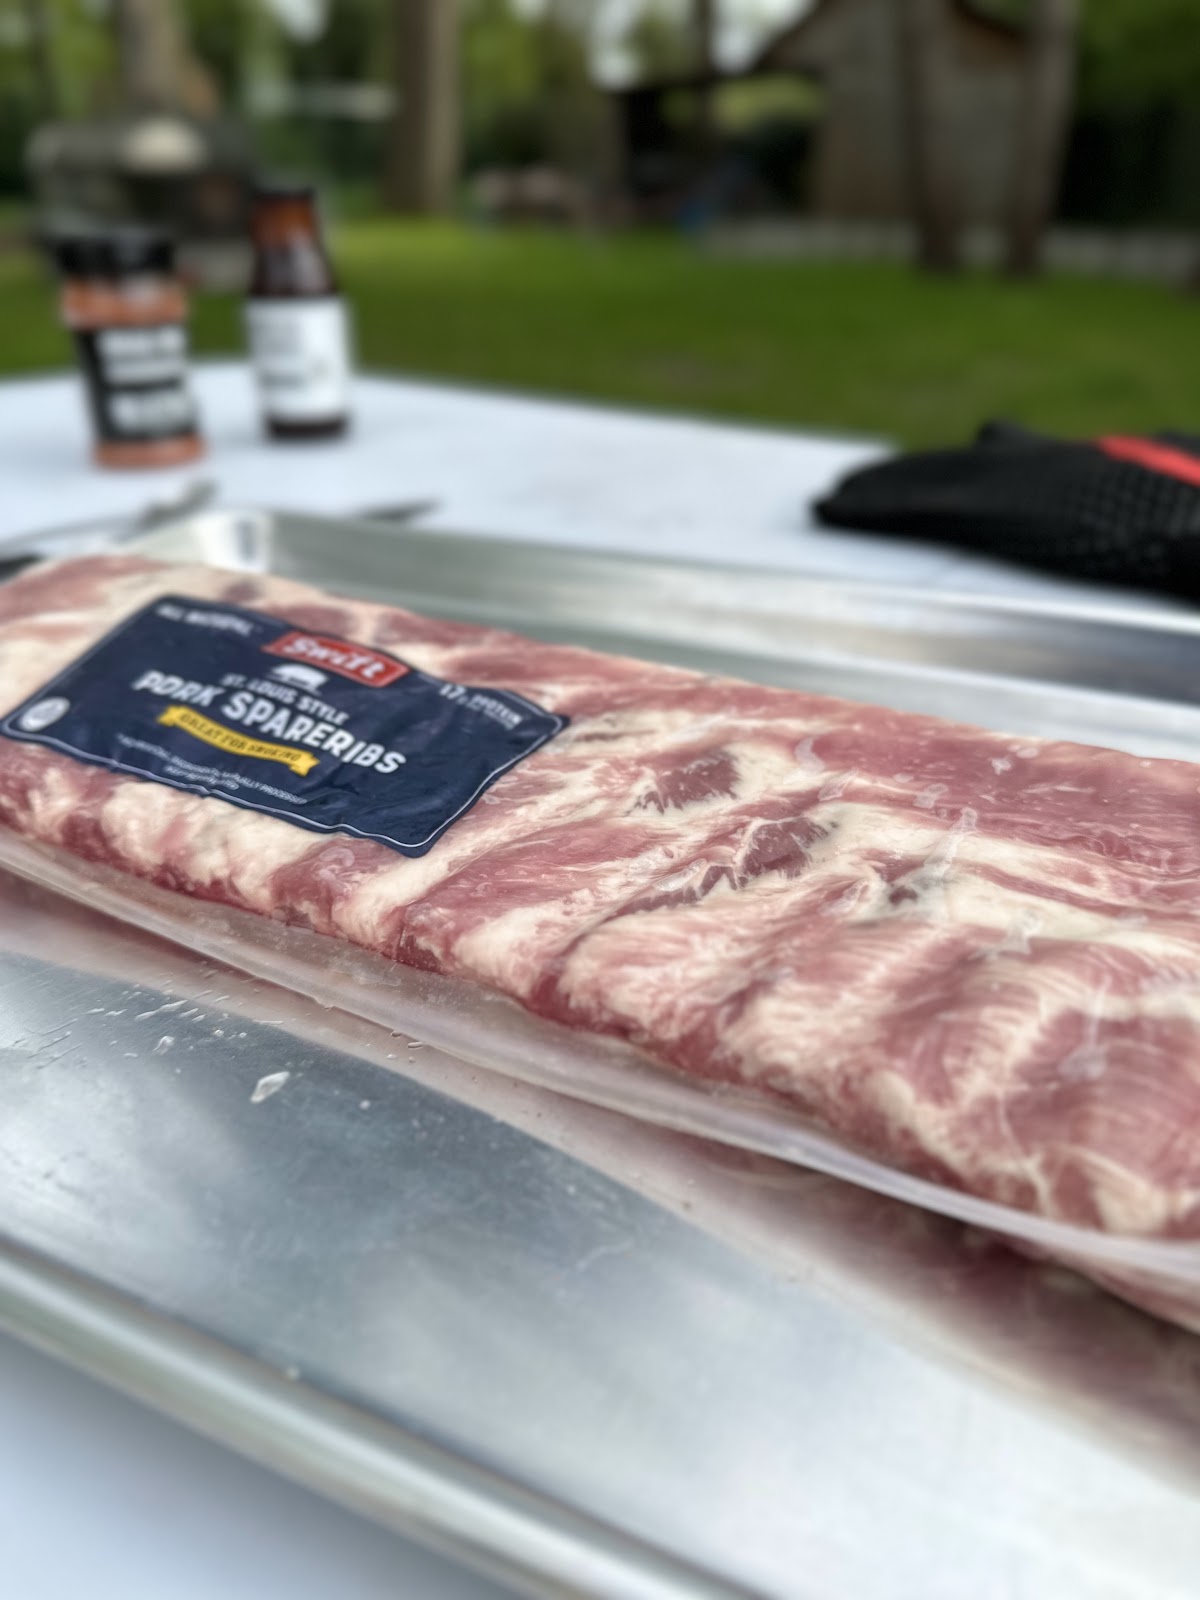
Gustor USDA Swift St. Louis-Style Ribs
-
A teaspoon
-
Aluminum foil
-
Toothpick
-
Basting brush
-
Pellet smoker or Kamado set up for indirect cooking at 120°C (250°F)
-
Smoking wood (if using a Kamado)
-
Butter
-
Honey
-
Light brown sugar
-
Meatpal BBQ Rub (available from Gustor)
-
Braai Red Sauce (available from Gustor)
-
Spray bottle filled with clean drinking water
Instructions
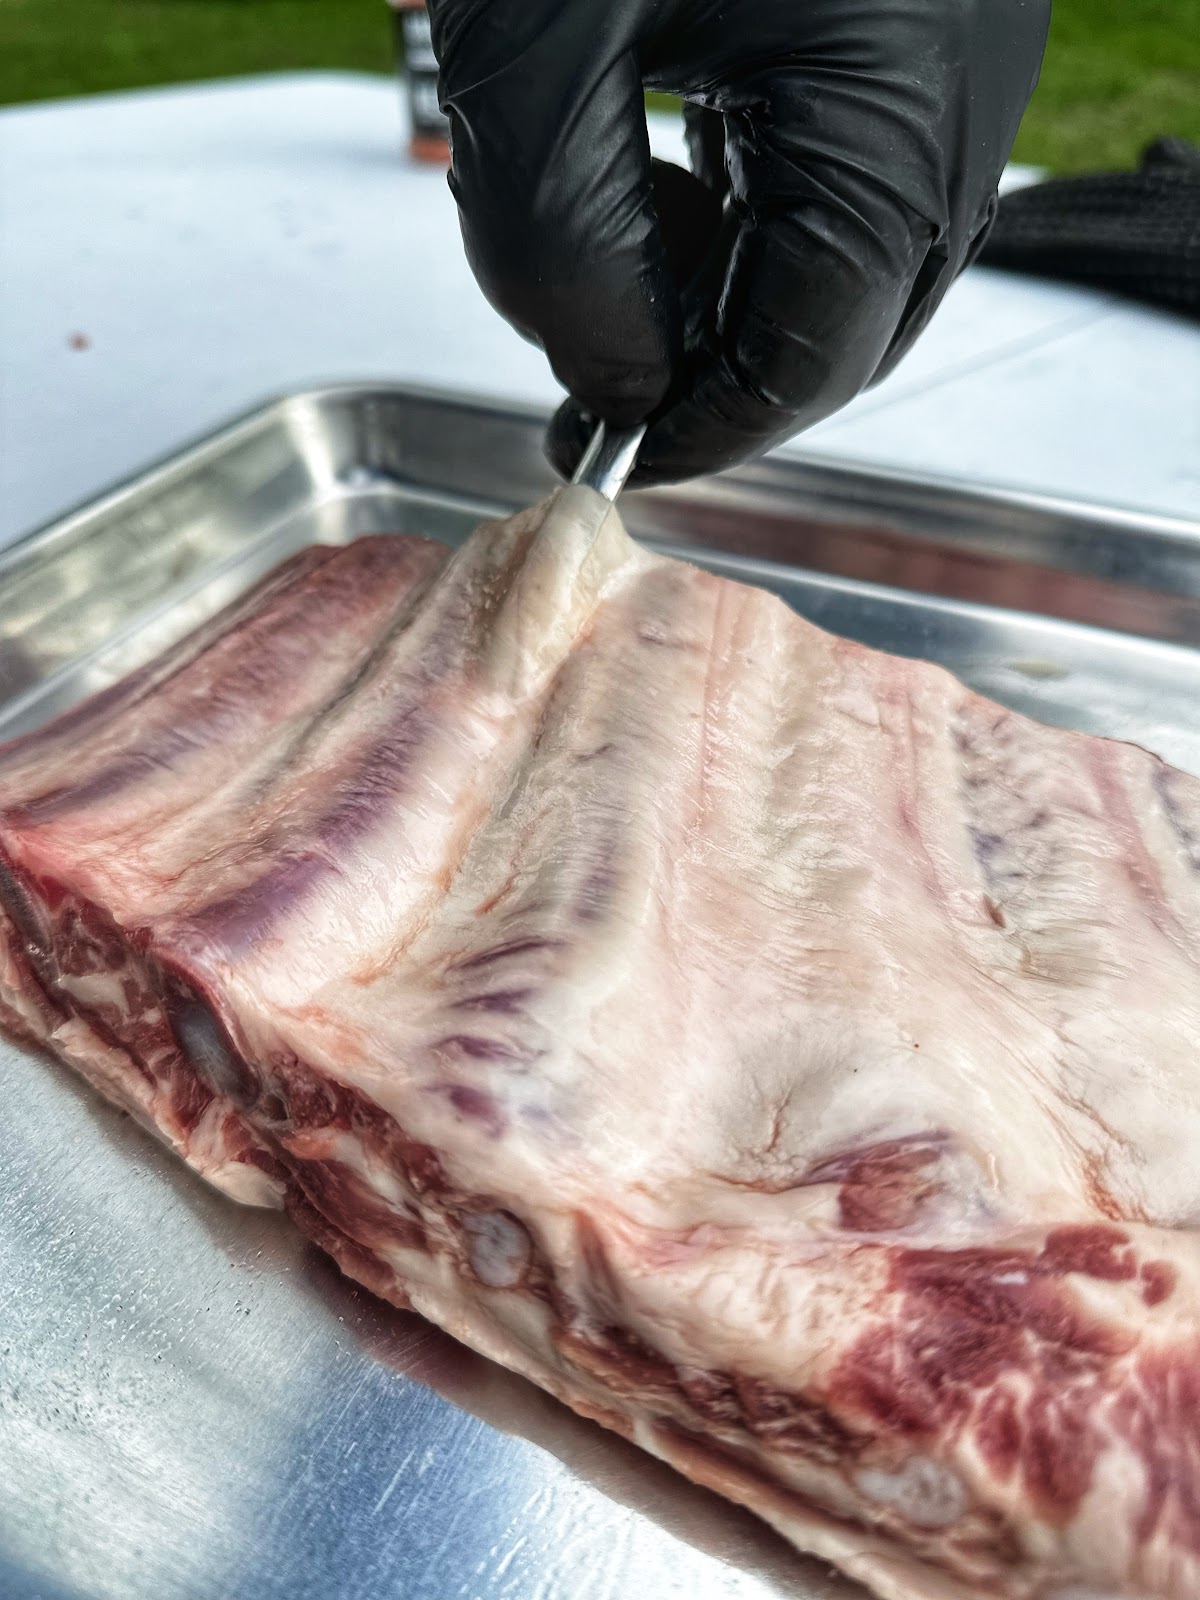
Step 1 – Remove the Membrane
First, we'll remove the membrane from the back of the ribs.
Every rack of ribs has a thin membrane covering the bone side. Leaving it on prevents smoke and seasoning from penetrating properly.
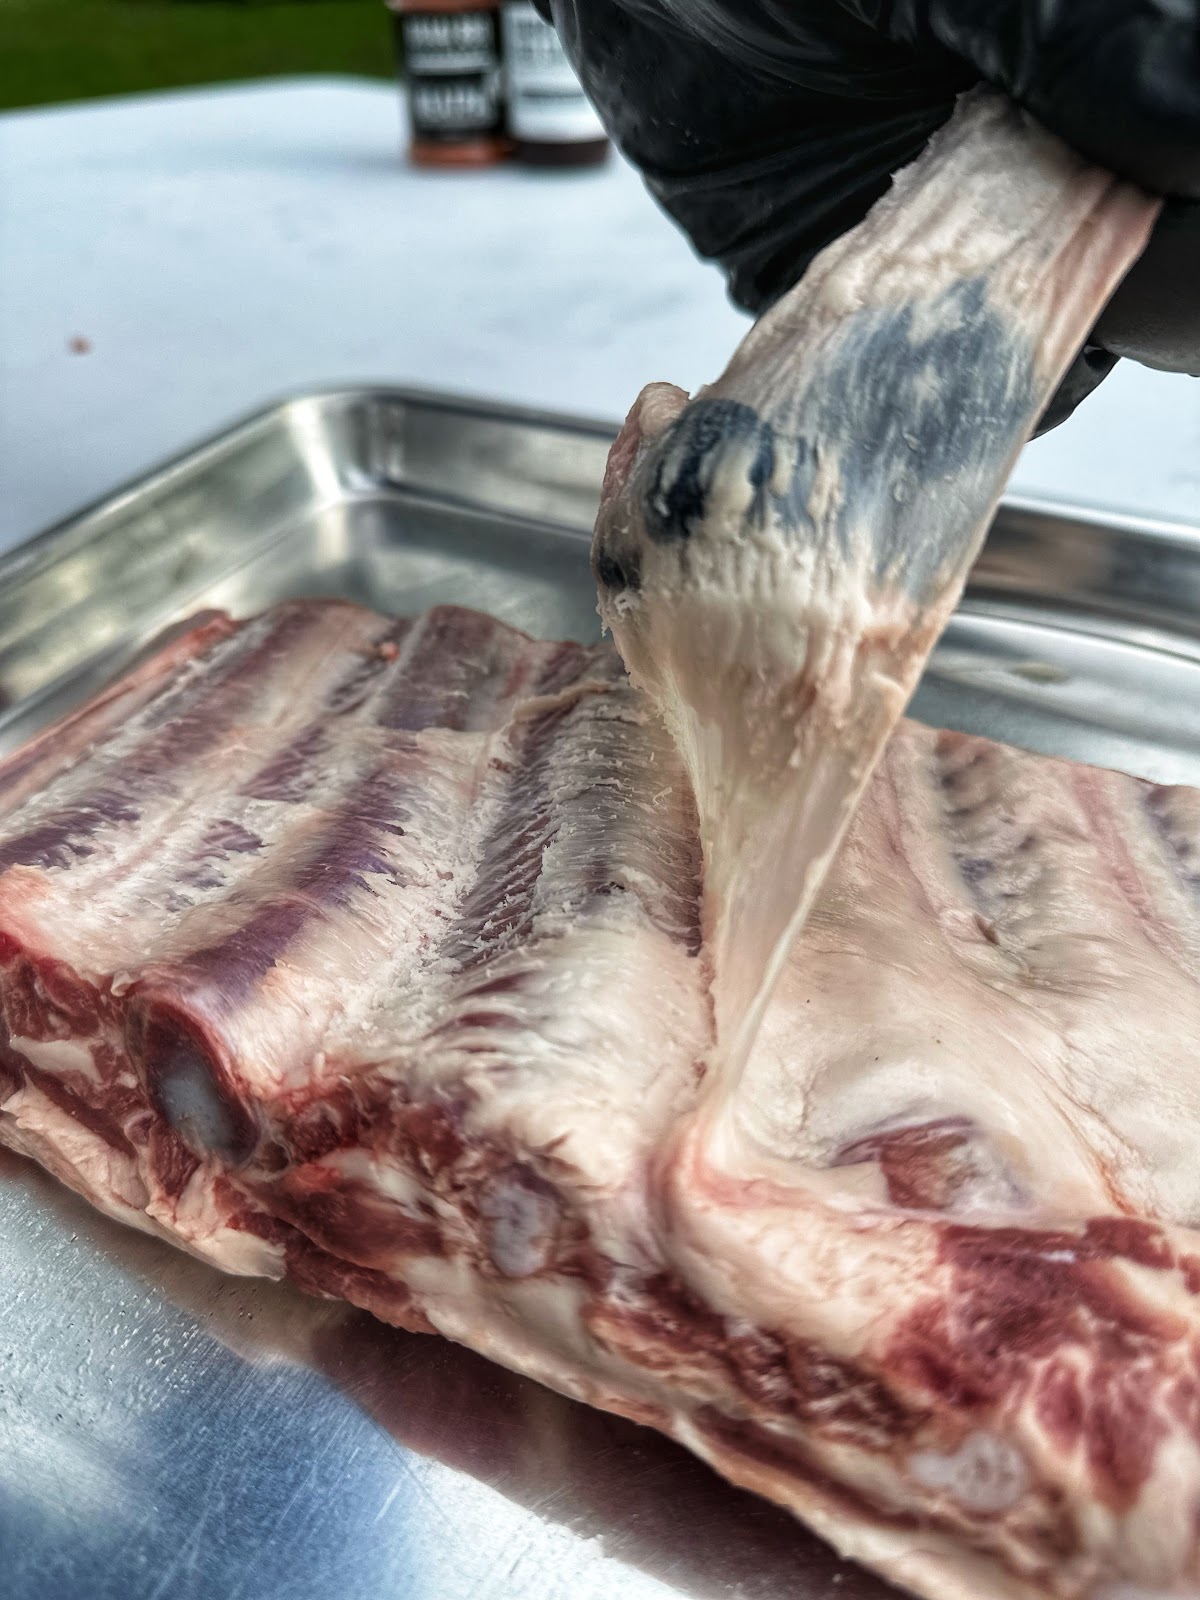
Carefully slide the back of a teaspoon between the membrane and the bone. Work the spoon back and forth until you create an opening.
Once loosened, pull the membrane away with your fingers. If necessary, use a piece of kitchen paper for extra grip.
Step 2 – Trim the Ribs
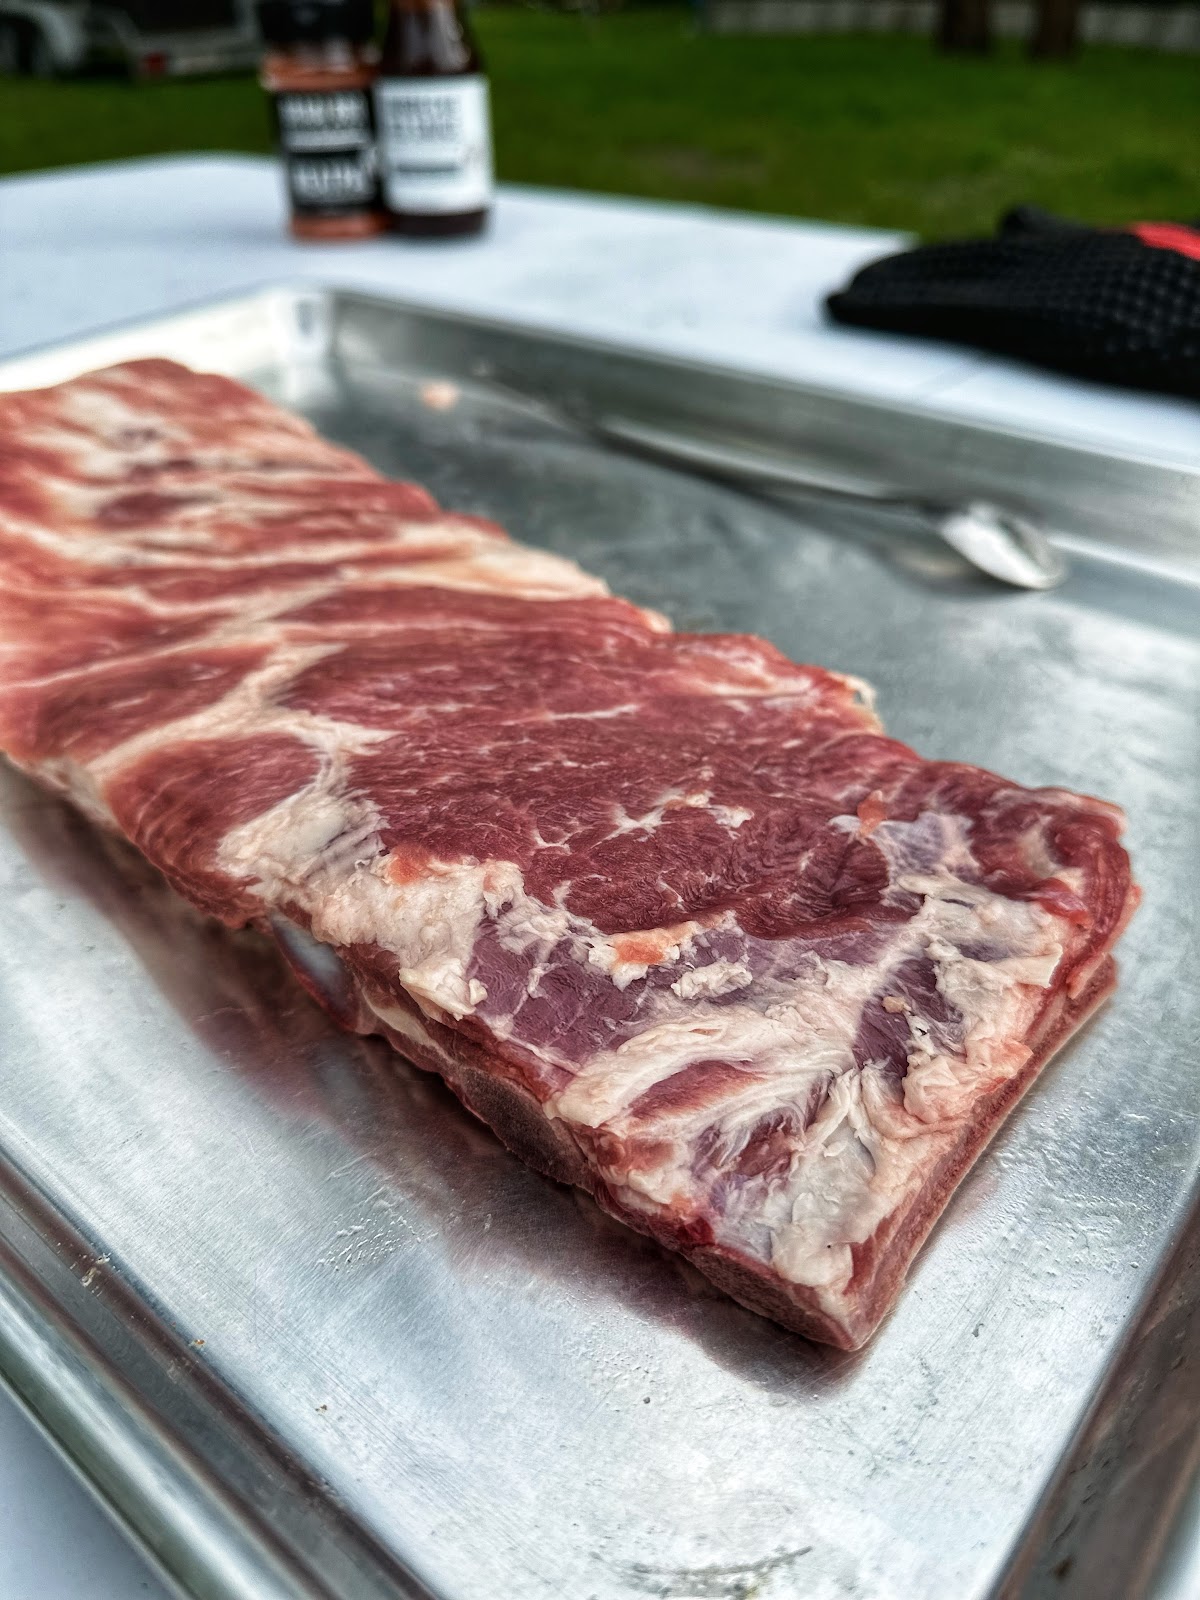
St. Louis-style ribs are already very well trimmed and usually require little to no additional preparation.
Most racks have an even thickness throughout, which promotes even cooking.
However, always inspect your ribs carefully.
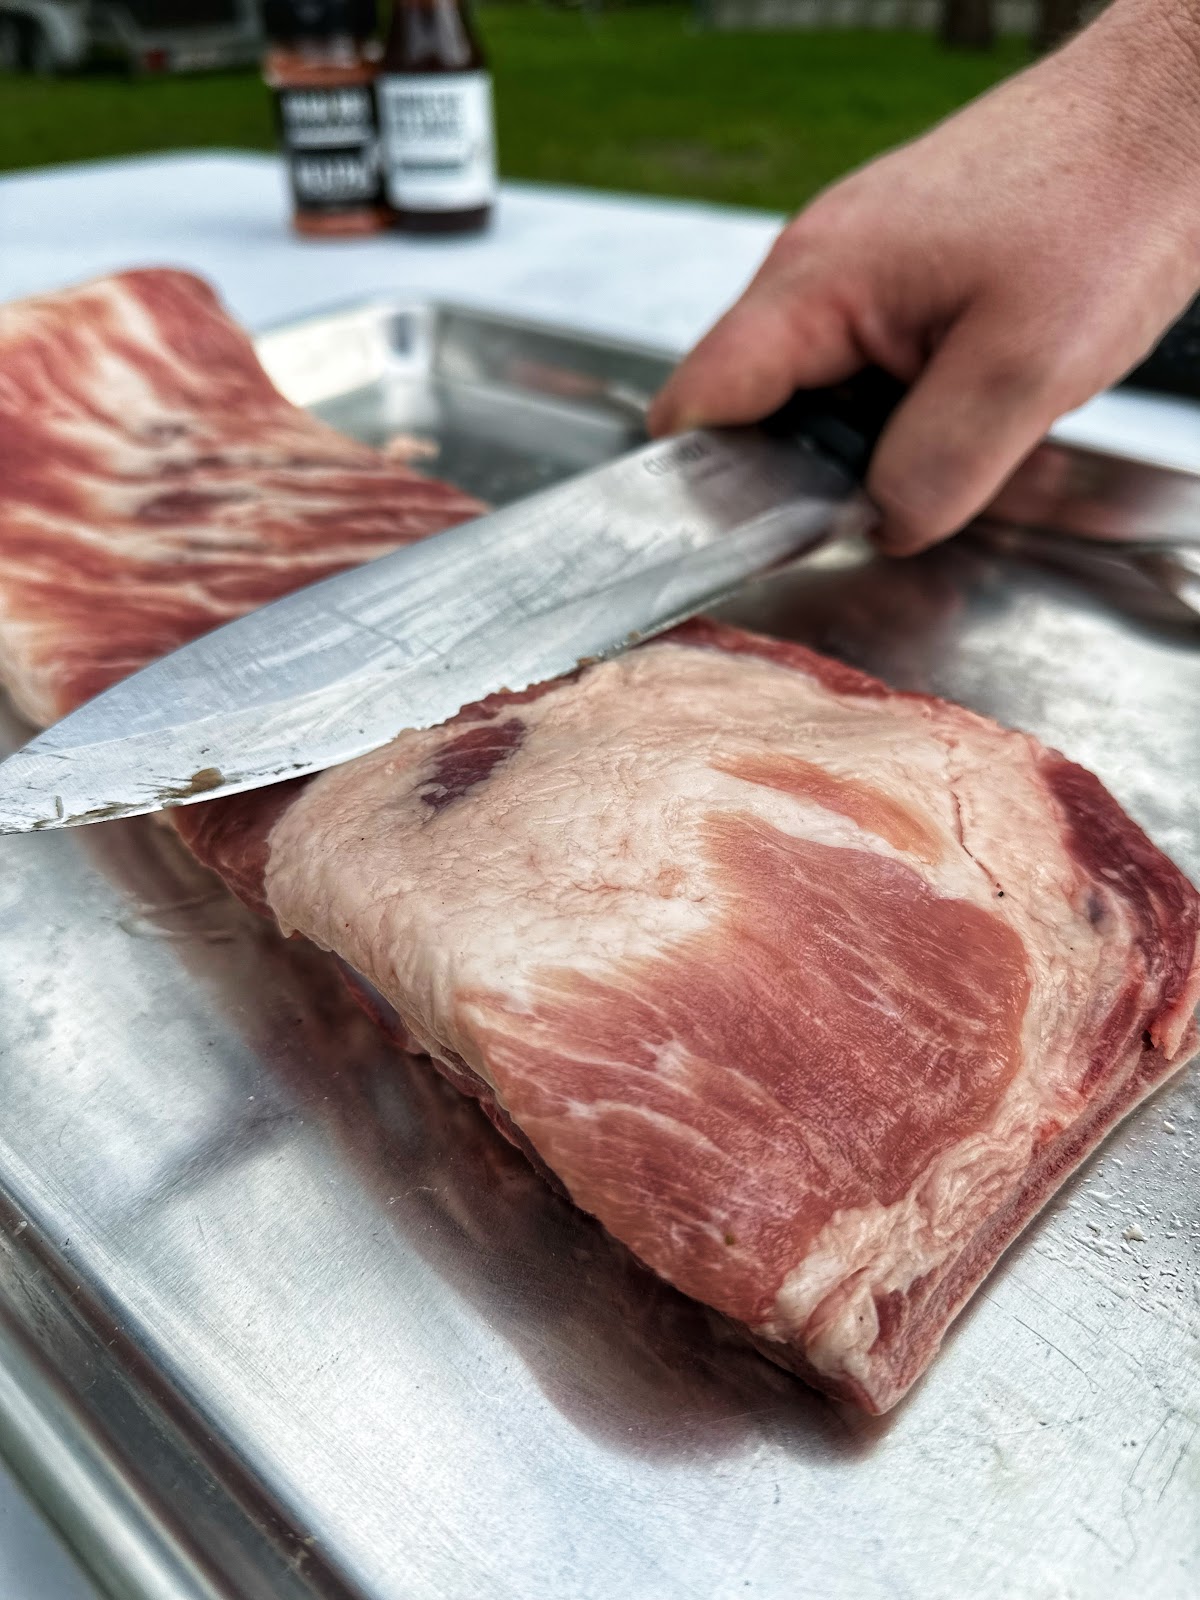
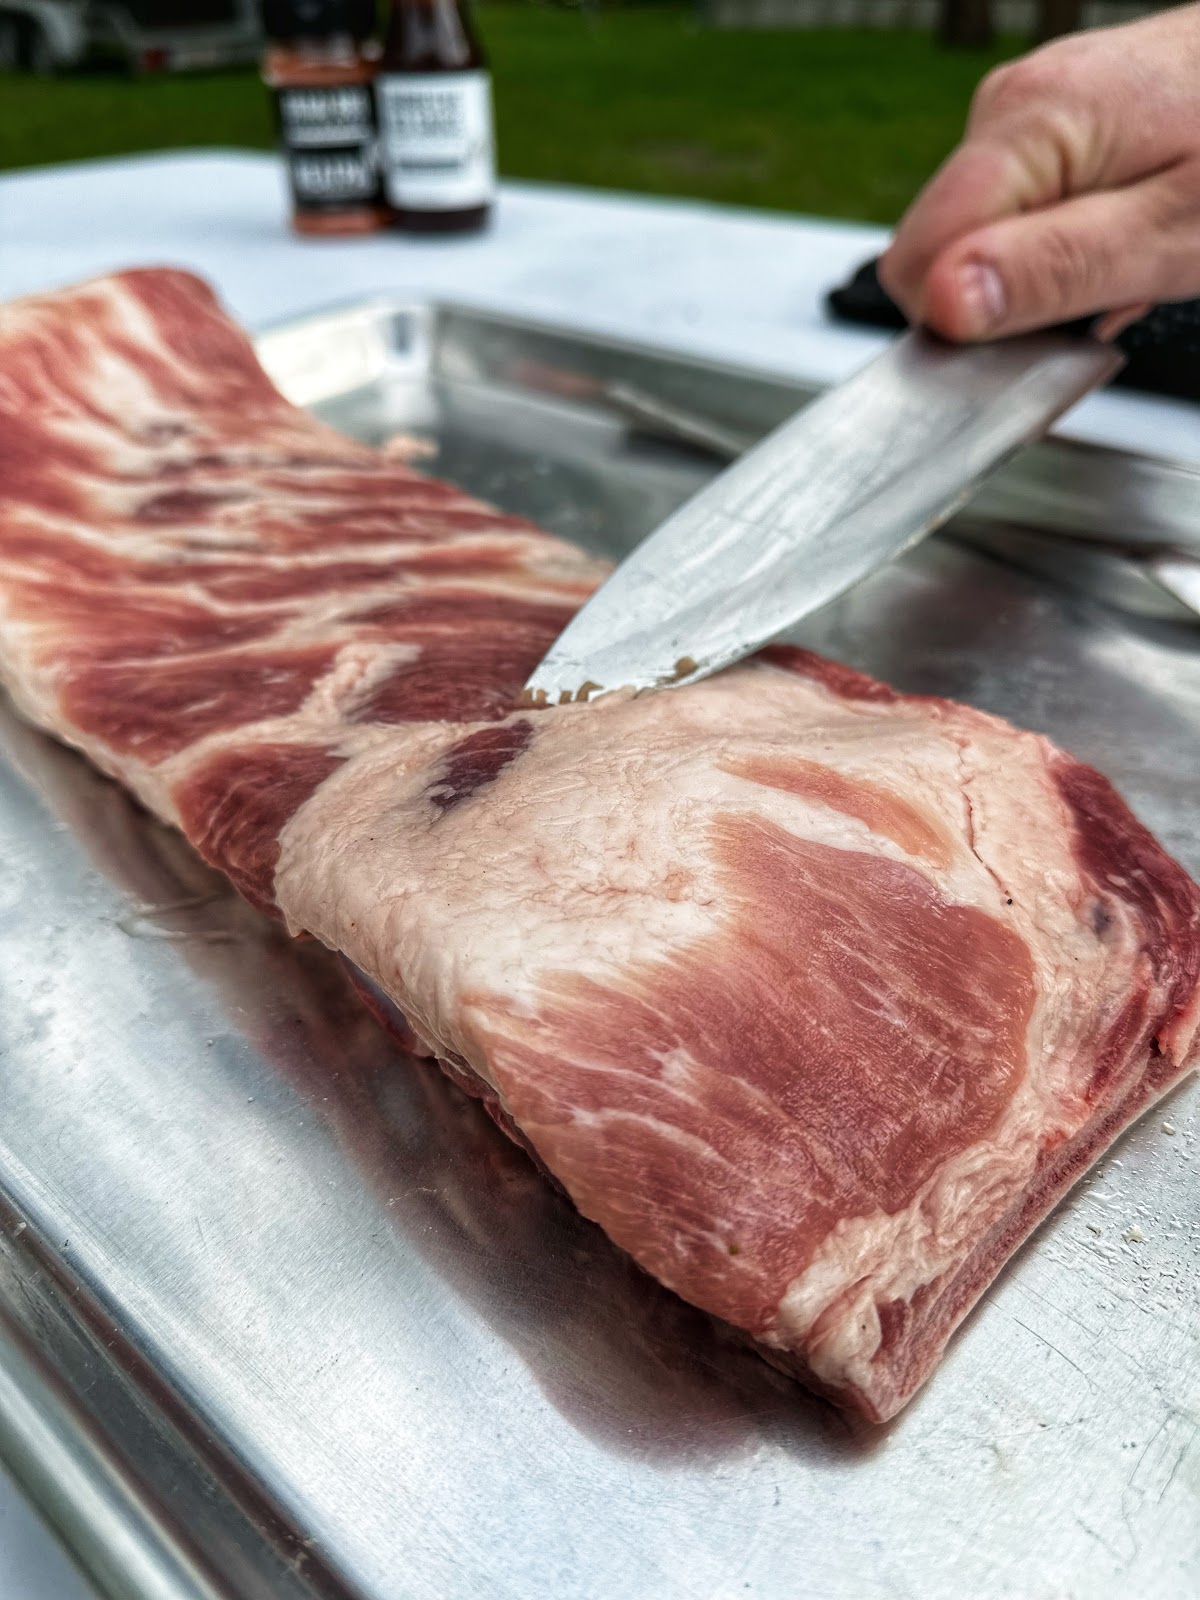
In our case, one end of the rack contained a thick piece of fat. This fat will not fully render during cooking and can negatively affect the final result.
Lay a sharp knife flat against the surface of the meat and carefully trim away the excess fat, cutting parallel to the ribs.
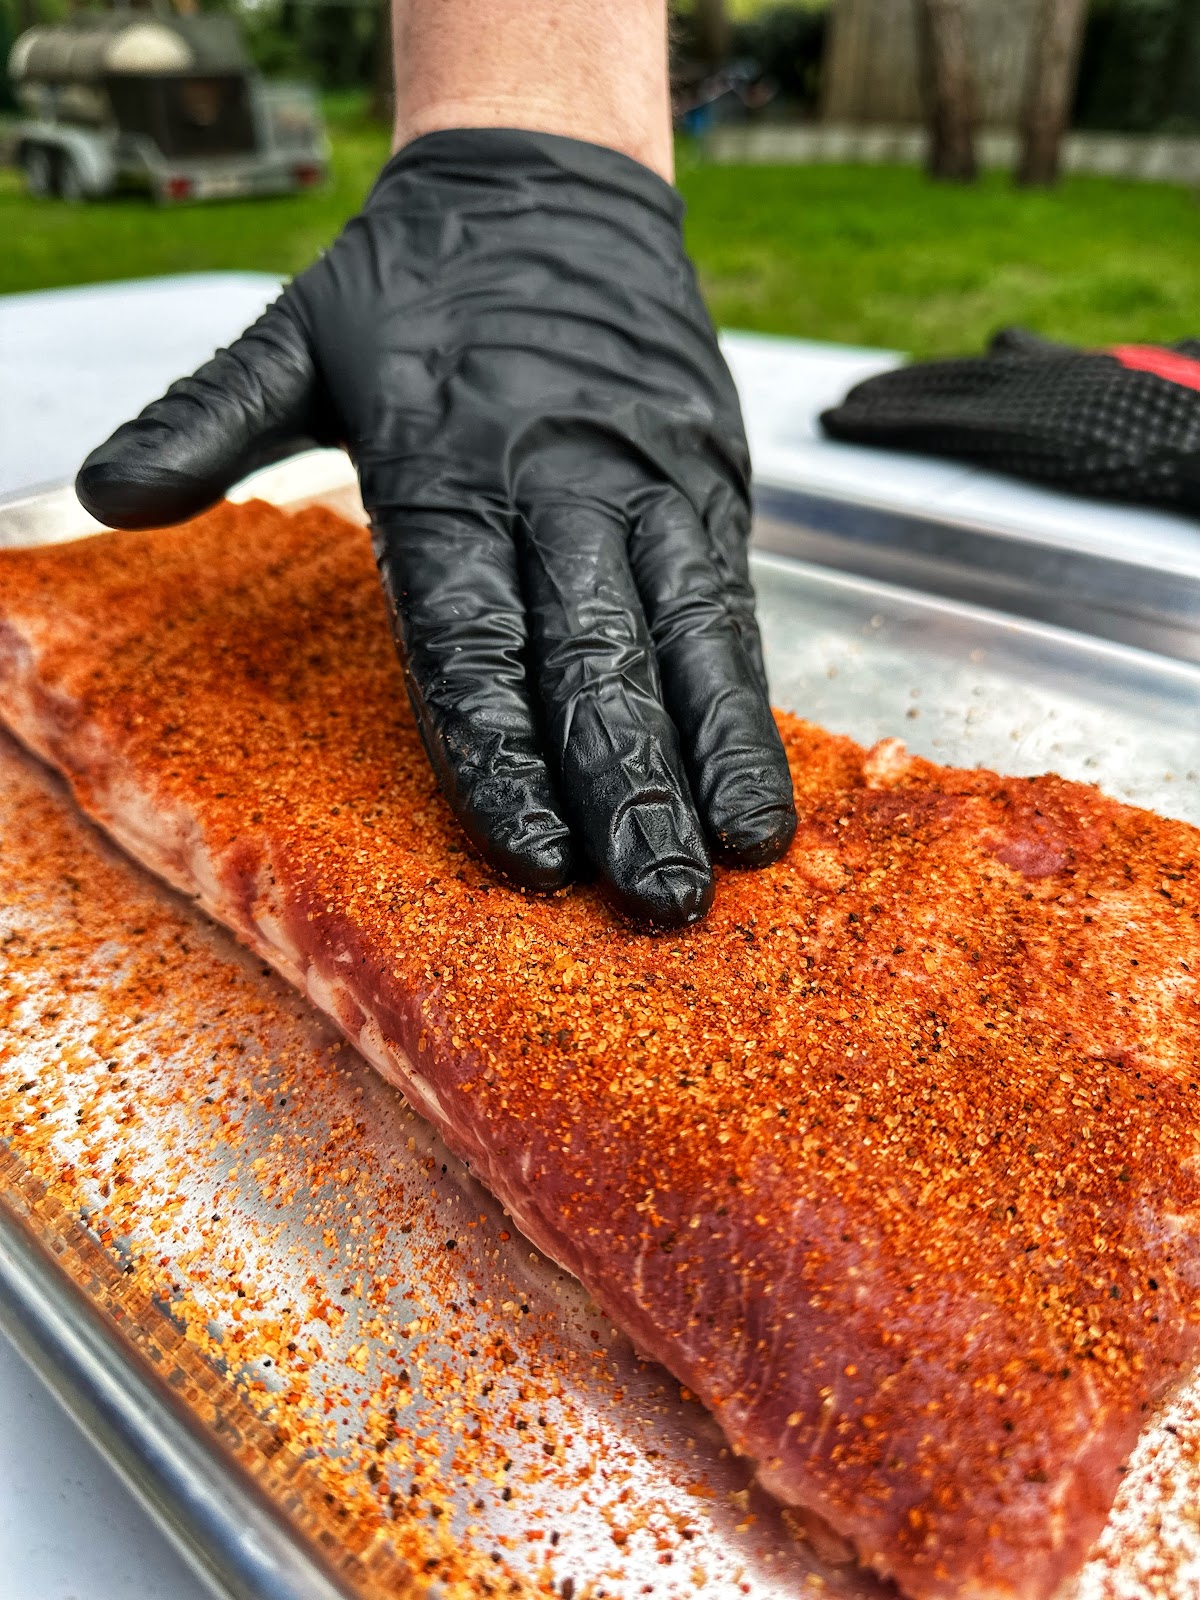
Step 3 – Apply the Rub
Unlike many recipes, we do not use a binder such as mustard.
Over the years we've cooked ribs both with and without a binder and found no noticeable difference.
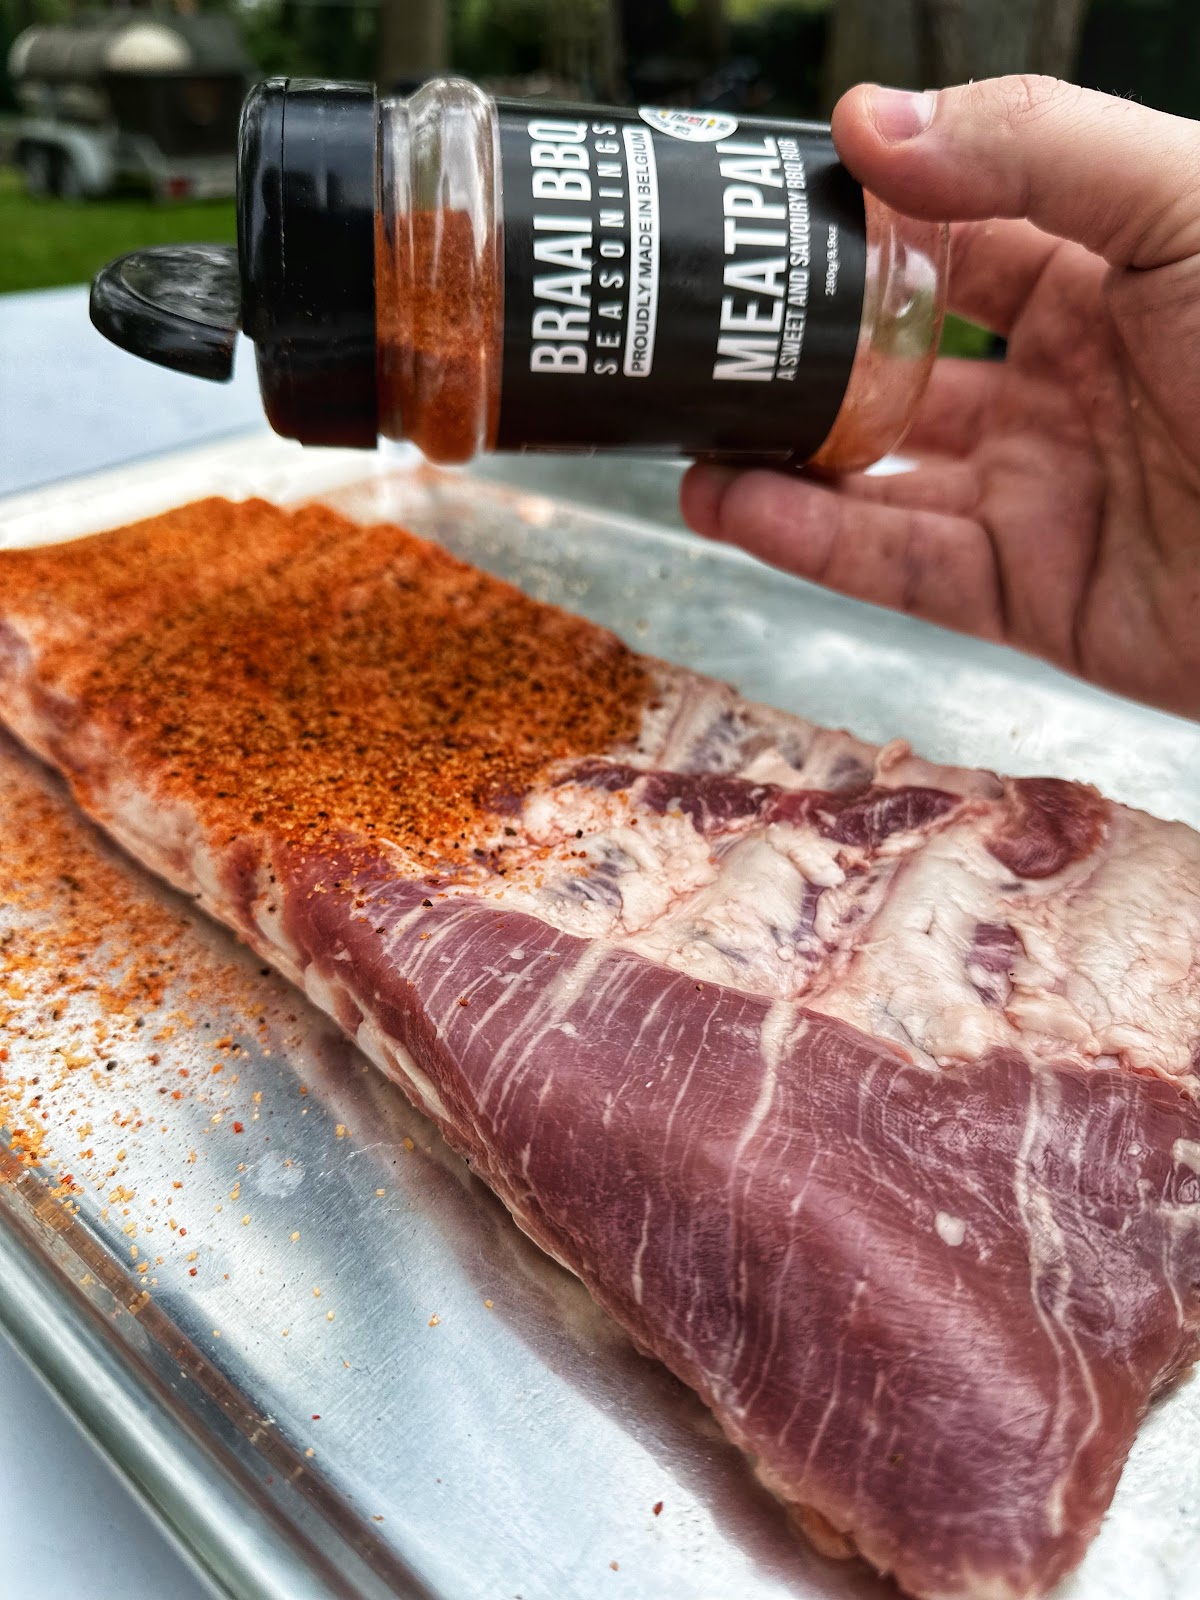
Start by seasoning the underside of the ribs—the side where the membrane was removed.
Generously apply the Meatpal BBQ Rub and allow the seasoning to penetrate the meat.
This process is often referred to as "letting the rub sweat."
Allowing the seasoning to properly absorb is important; otherwise, it may simply fall off during cooking.
Press the rub gently into the meat with your hands and allow it to rest for at least 30 minutes.
Once the seasoning has absorbed into the back side, repeat the same process on the top side.
Again, allow a minimum of 30 minutes.
Did You Know?
The rub starts to "sweat" because the salt draws moisture from the meat.
The salt also denatures the meat proteins, helping the ribs retain more moisture during cooking.
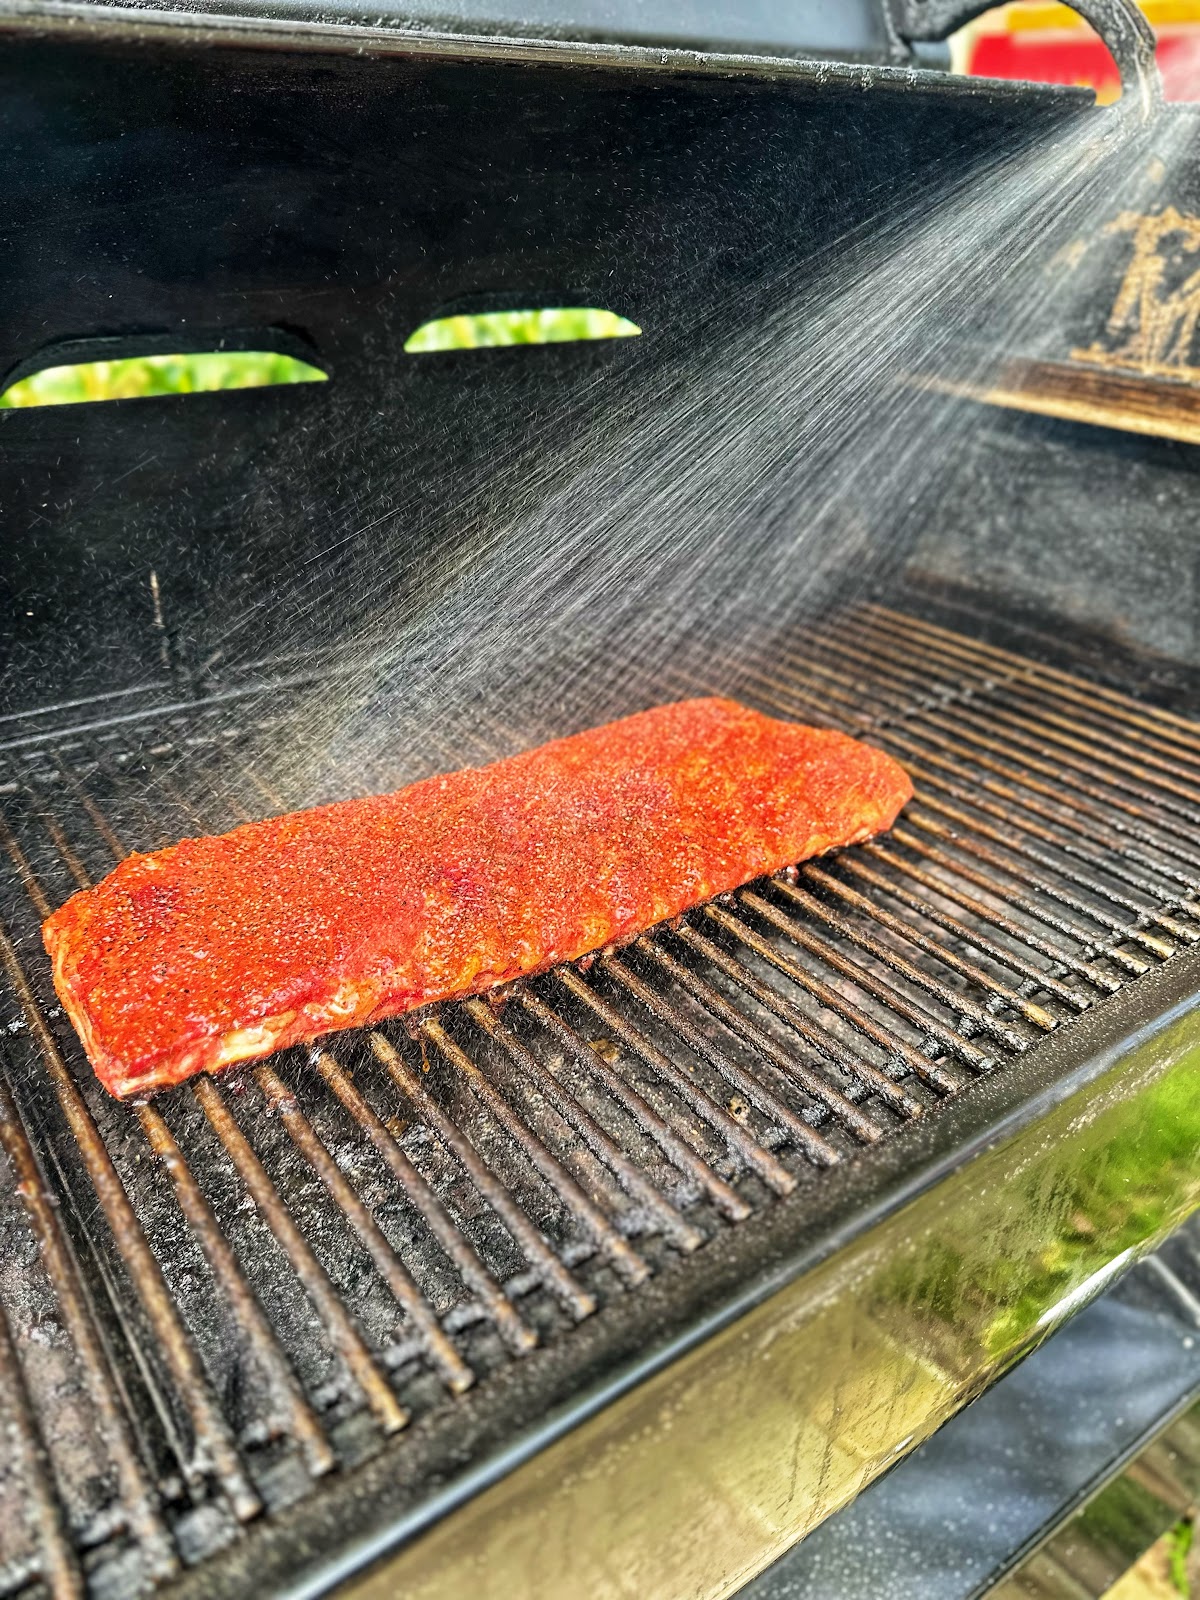
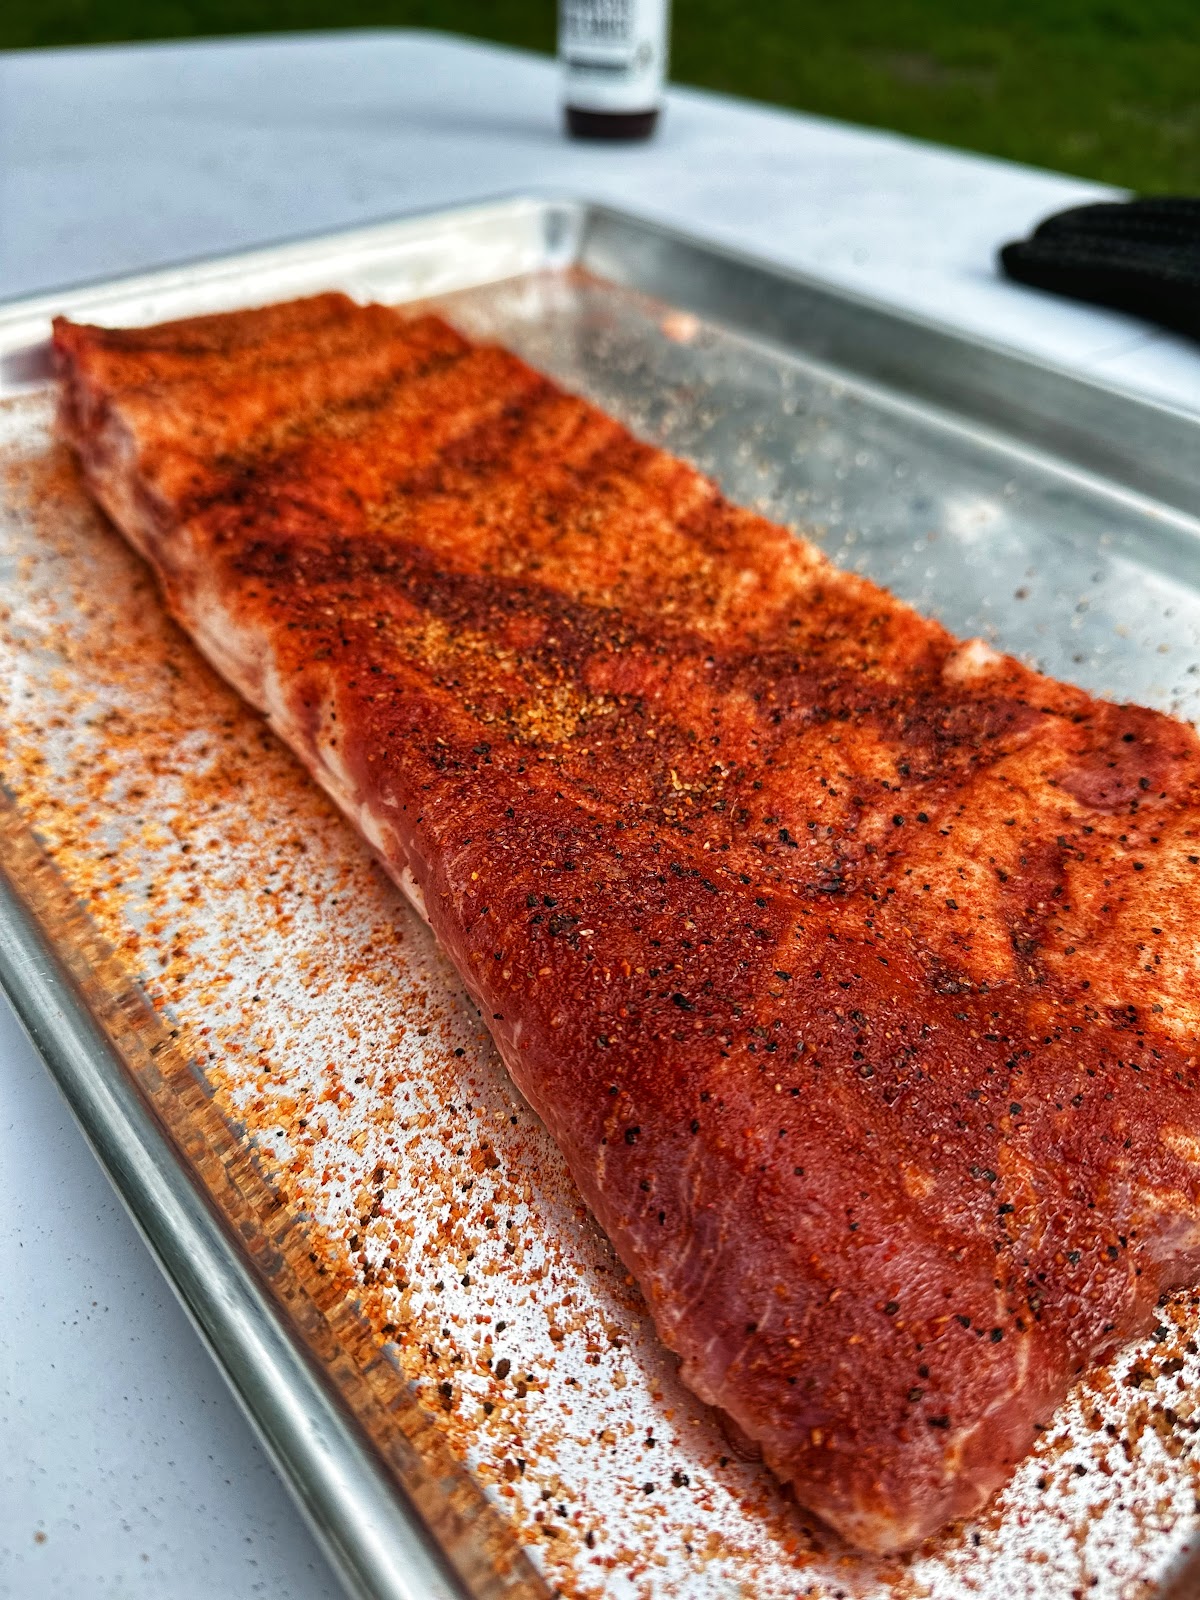
Step 4 – Begin Smoking
Once the seasoning has properly absorbed on both sides, place the ribs in the center of the grill.
For this recipe, we're using a Weber EX6 Pellet Smoker set to 120°C (250°F).
You can cook ribs at slightly higher or lower temperatures, but for me, 120°C on the EX6 is the sweet spot.
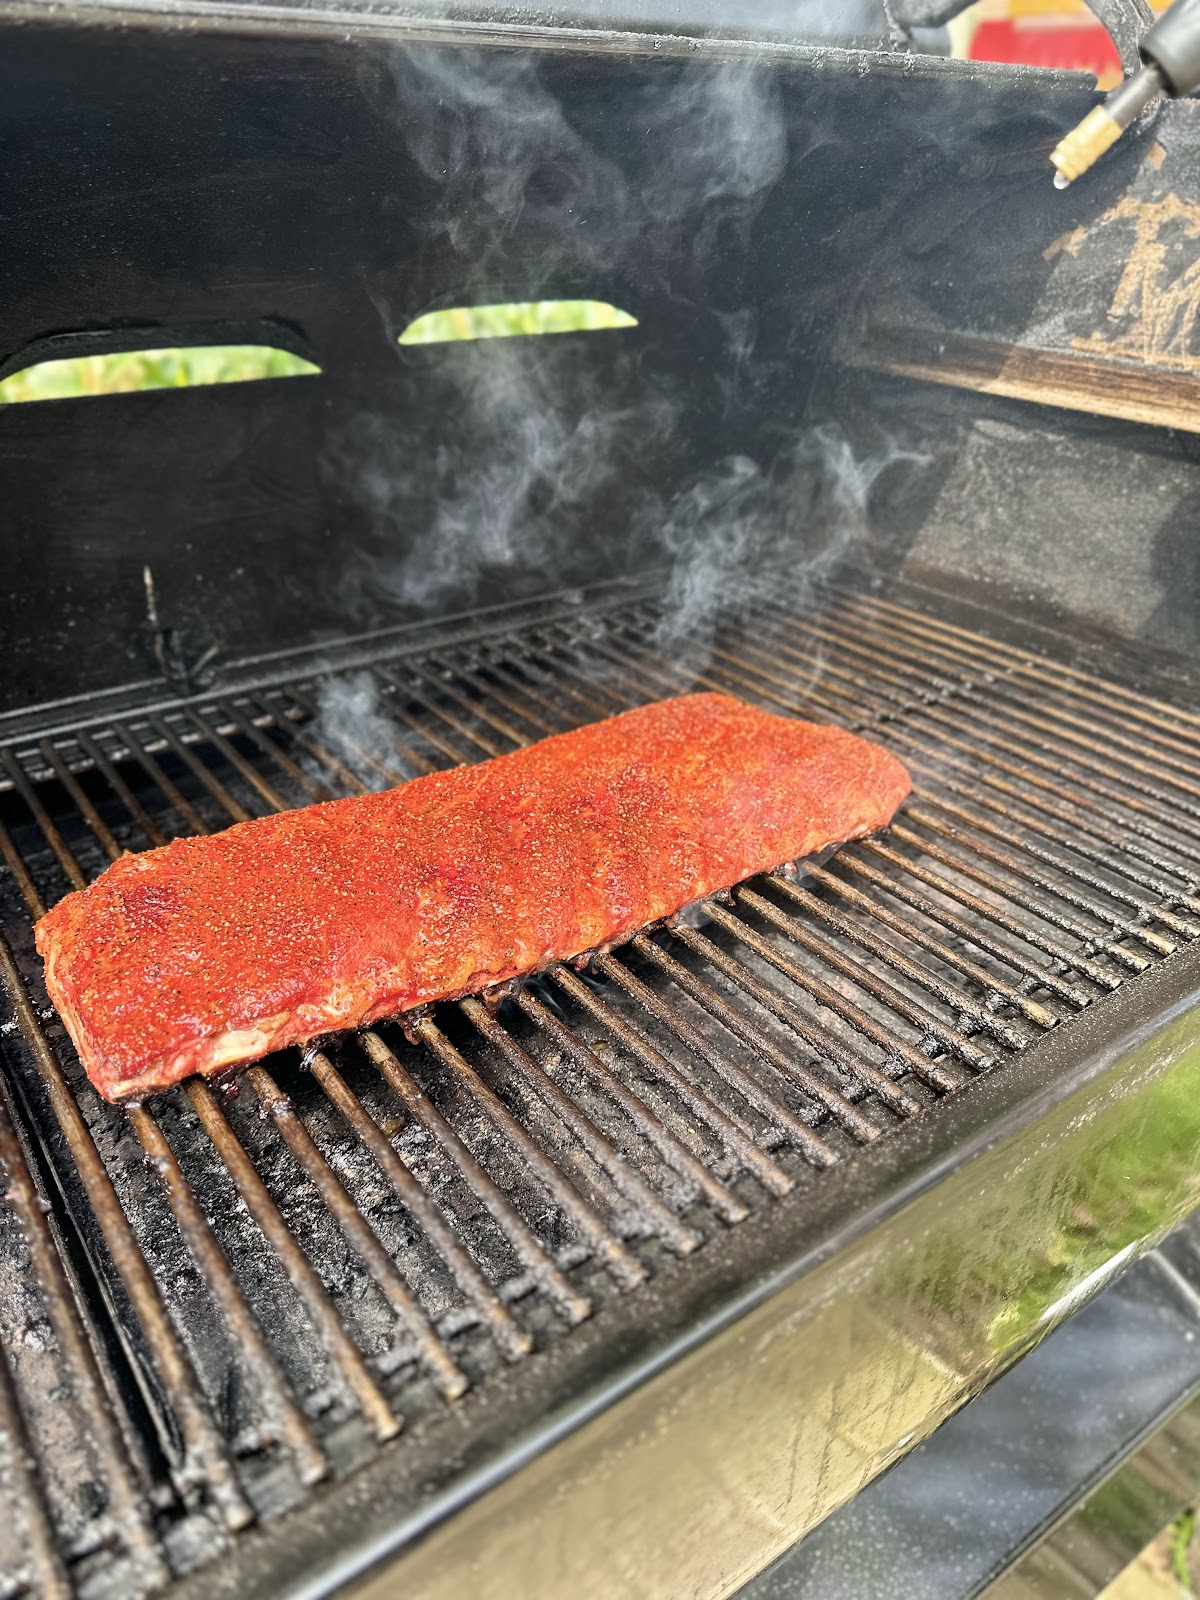
Close the lid and leave the ribs untouched for at least one hour.
During this time, the smoke and heat begin forming the bark.
When you can no longer rub the seasoning off the surface with your finger, the bark is starting to develop.
At this point, it's time to begin spritzing.
Why Do We Spritz?
Many people think spritzing is primarily used to add flavor.
Can it add flavor? Absolutely.
If you spritz with whiskey or Worcestershire sauce, you'll certainly taste it.
However, the main purpose of spritzing is to improve bark formation and enhance smoke adhesion.
Smoke naturally sticks best to cool, moist surfaces.
As meat cooks, it becomes hotter and drier, making it harder for smoke particles to adhere.
By spraying with clean drinking water, we cool and moisten the surface, creating ideal conditions for smoke attachment.
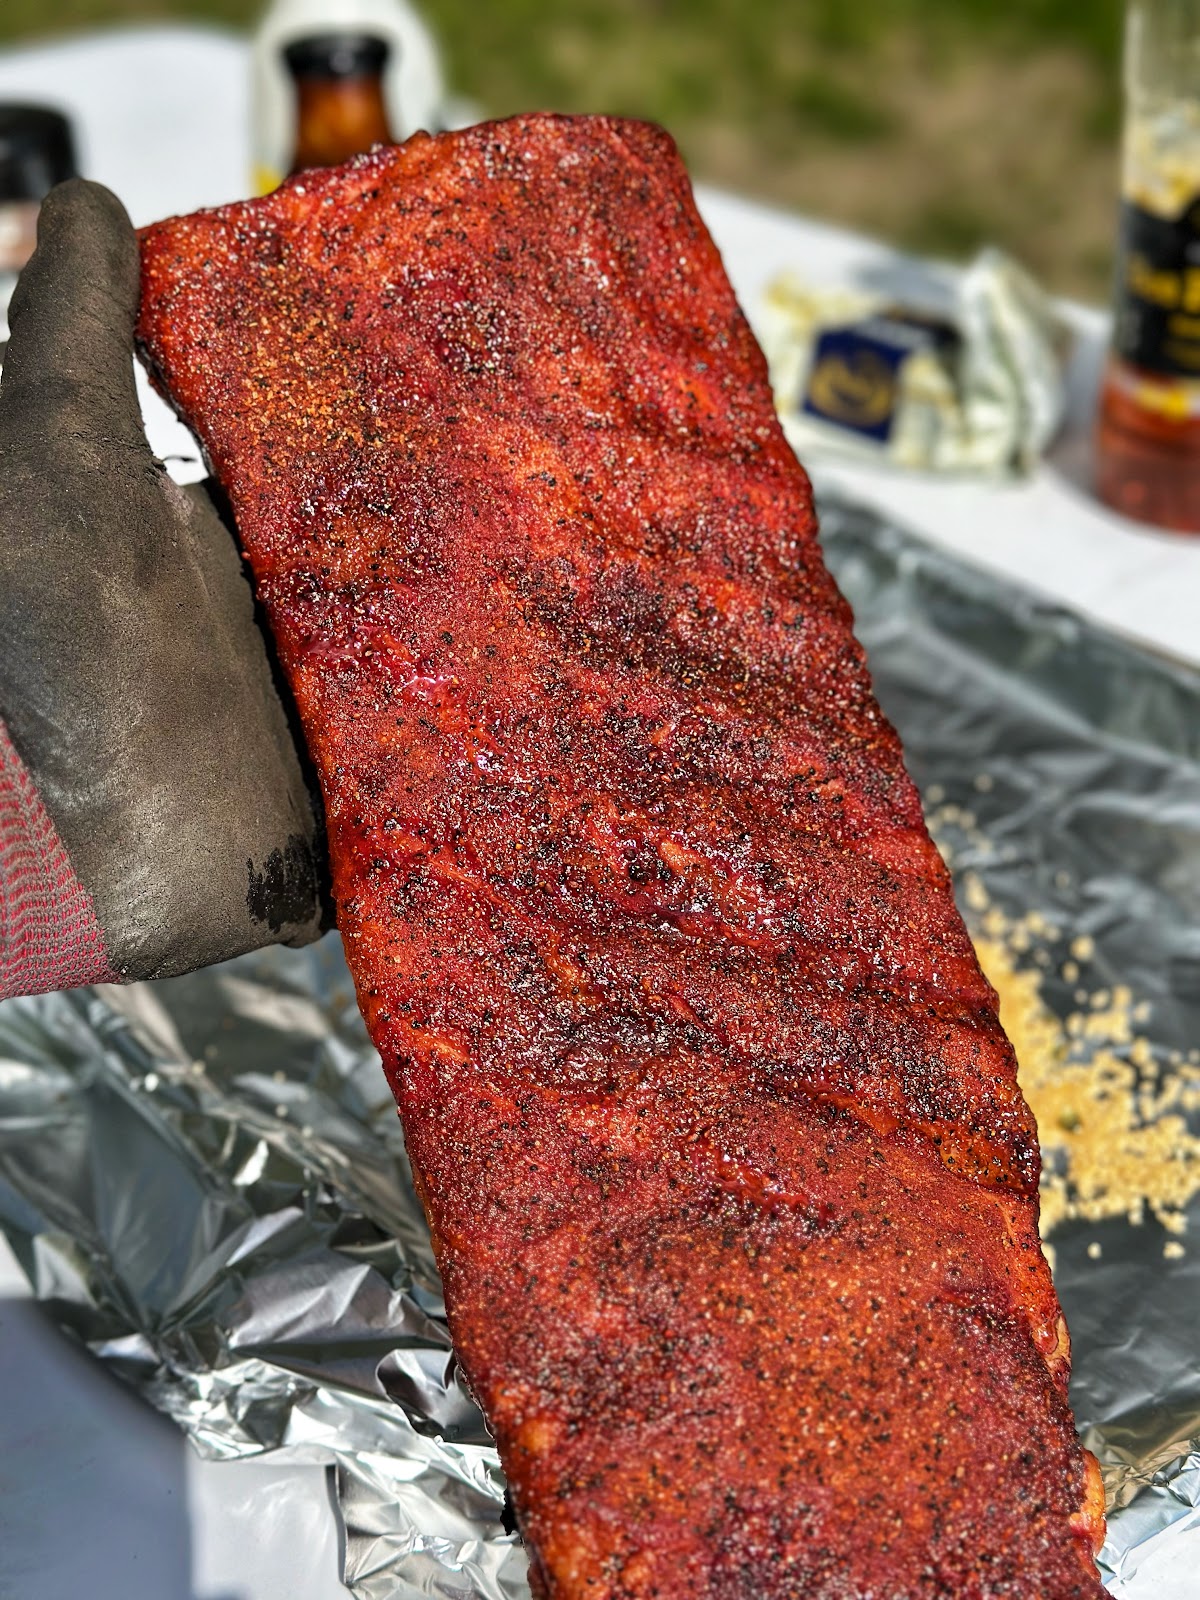
Continue spritzing regularly until the ribs develop a rich, dark reddish-brown color similar to mahogany wood.
Step 5 – Wrapping the Ribs
Once you've achieved the desired color, the ribs will still need additional cooking time.
Leaving them uncovered any longer would make them too dark.
To protect the color and accelerate cooking, we wrap them in aluminum foil.
The wrap creates steam, which helps tenderize the meat.
This recipe provides a solid foundation that you can later customize to make sweeter, spicier, or tangier.
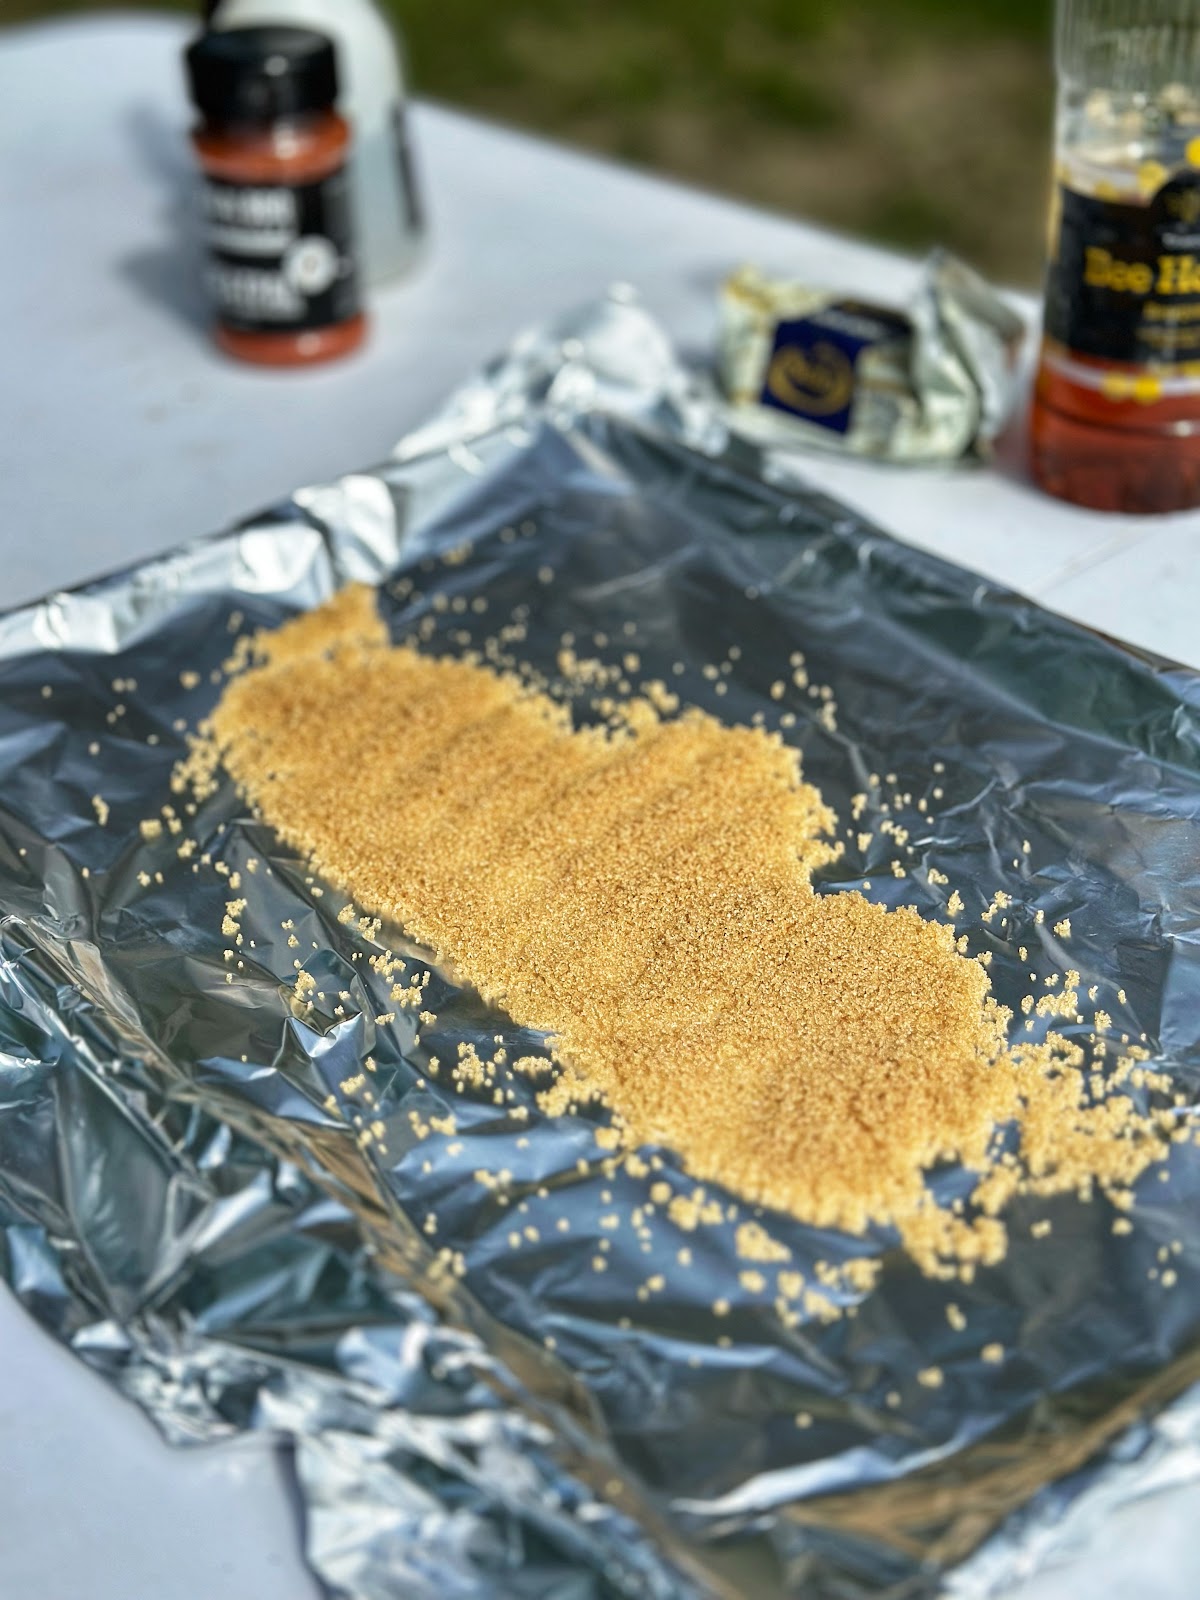
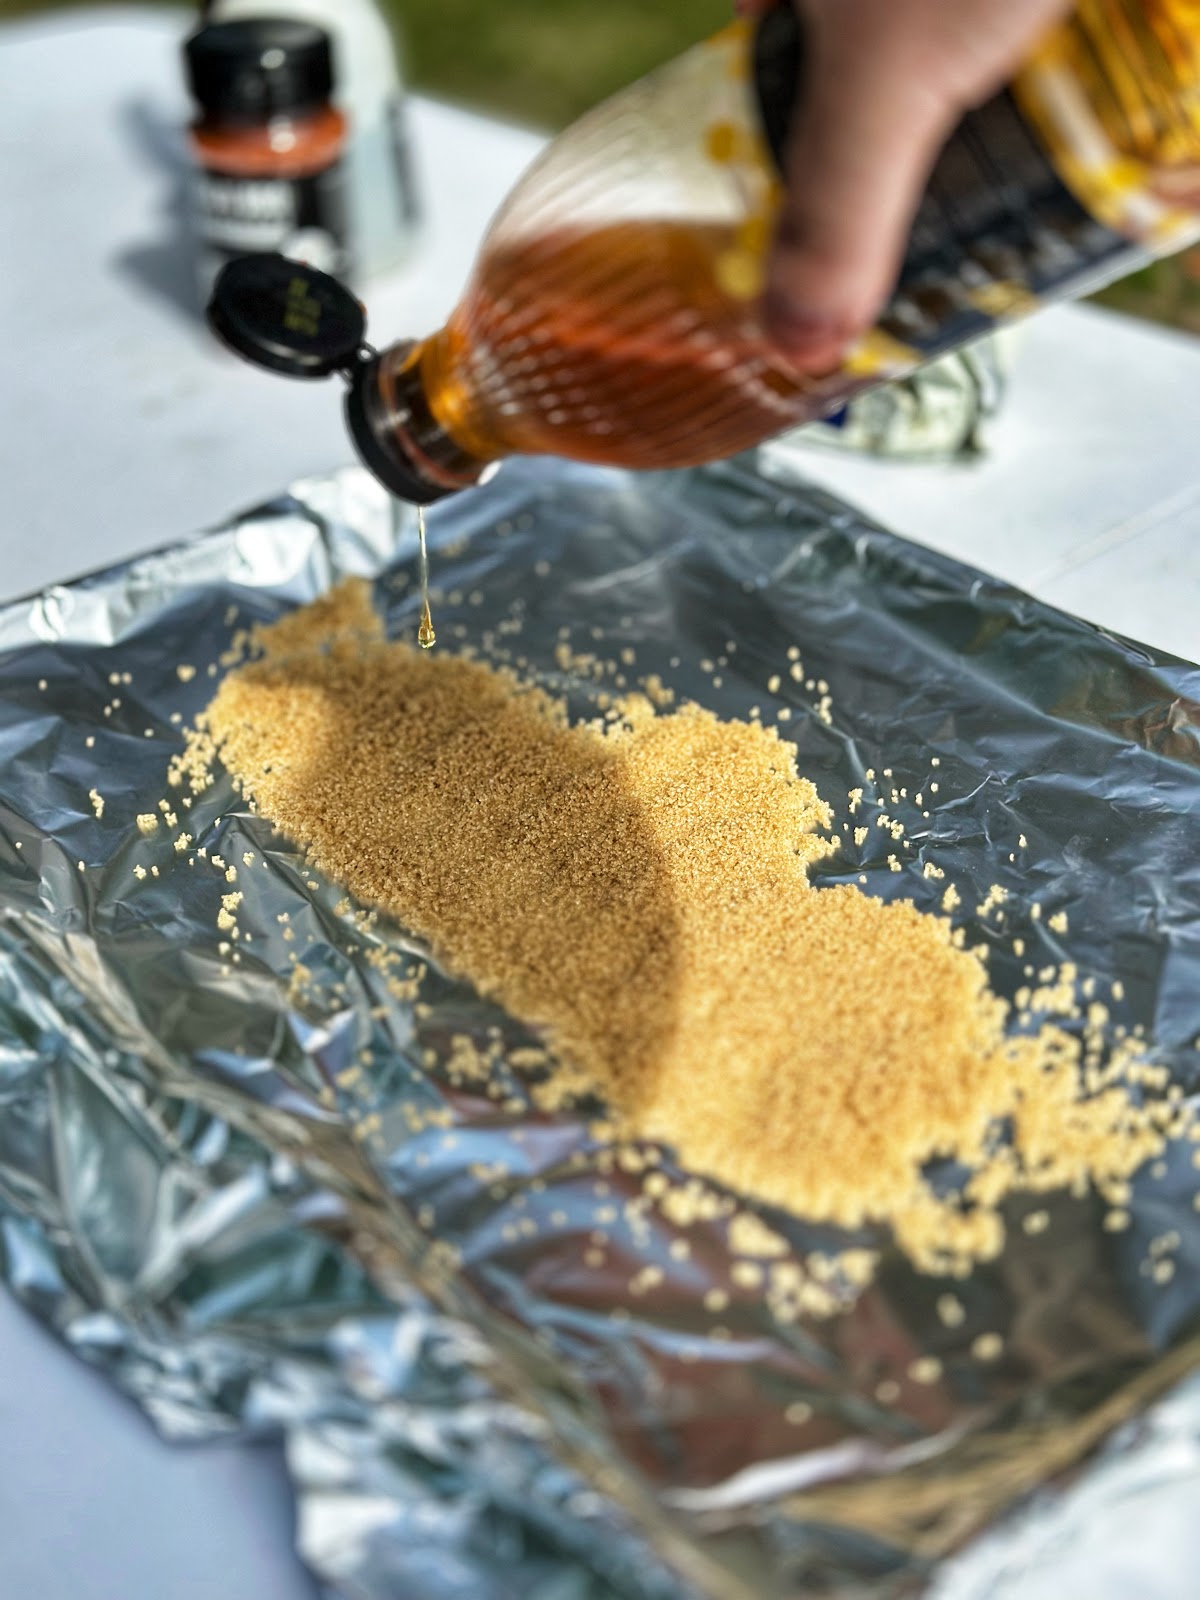
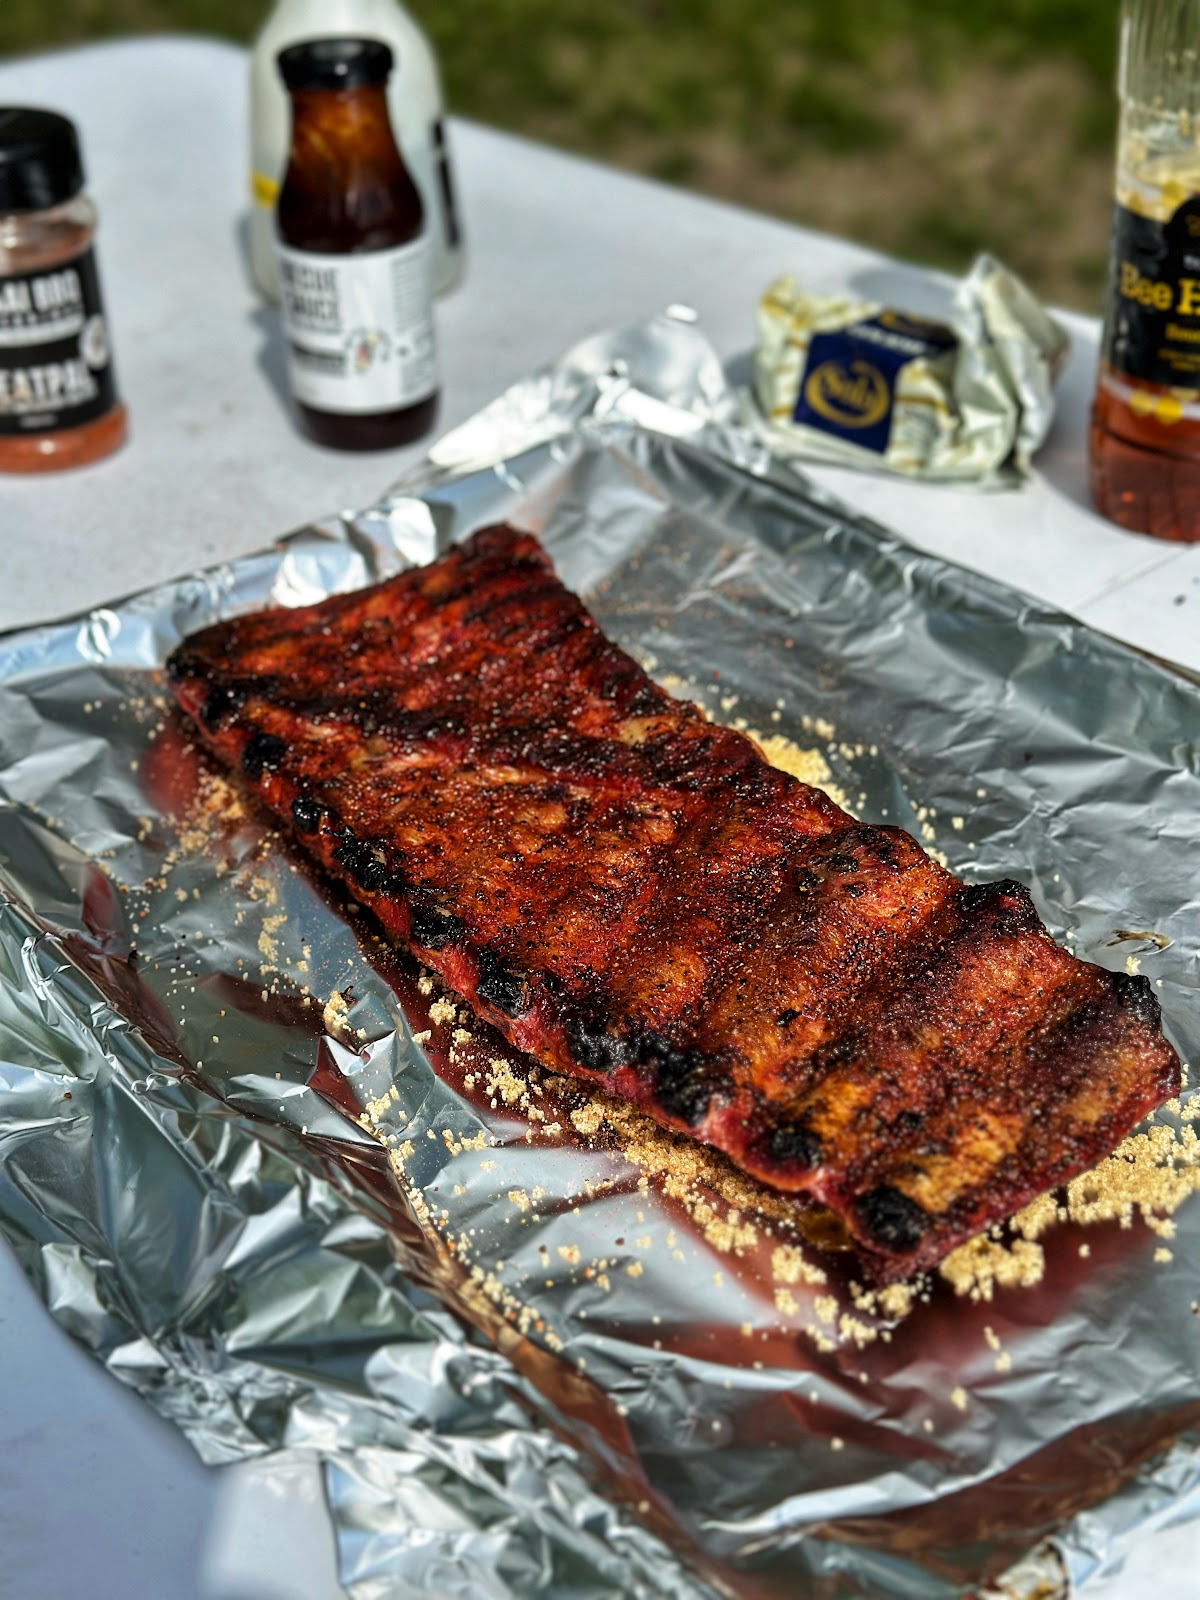
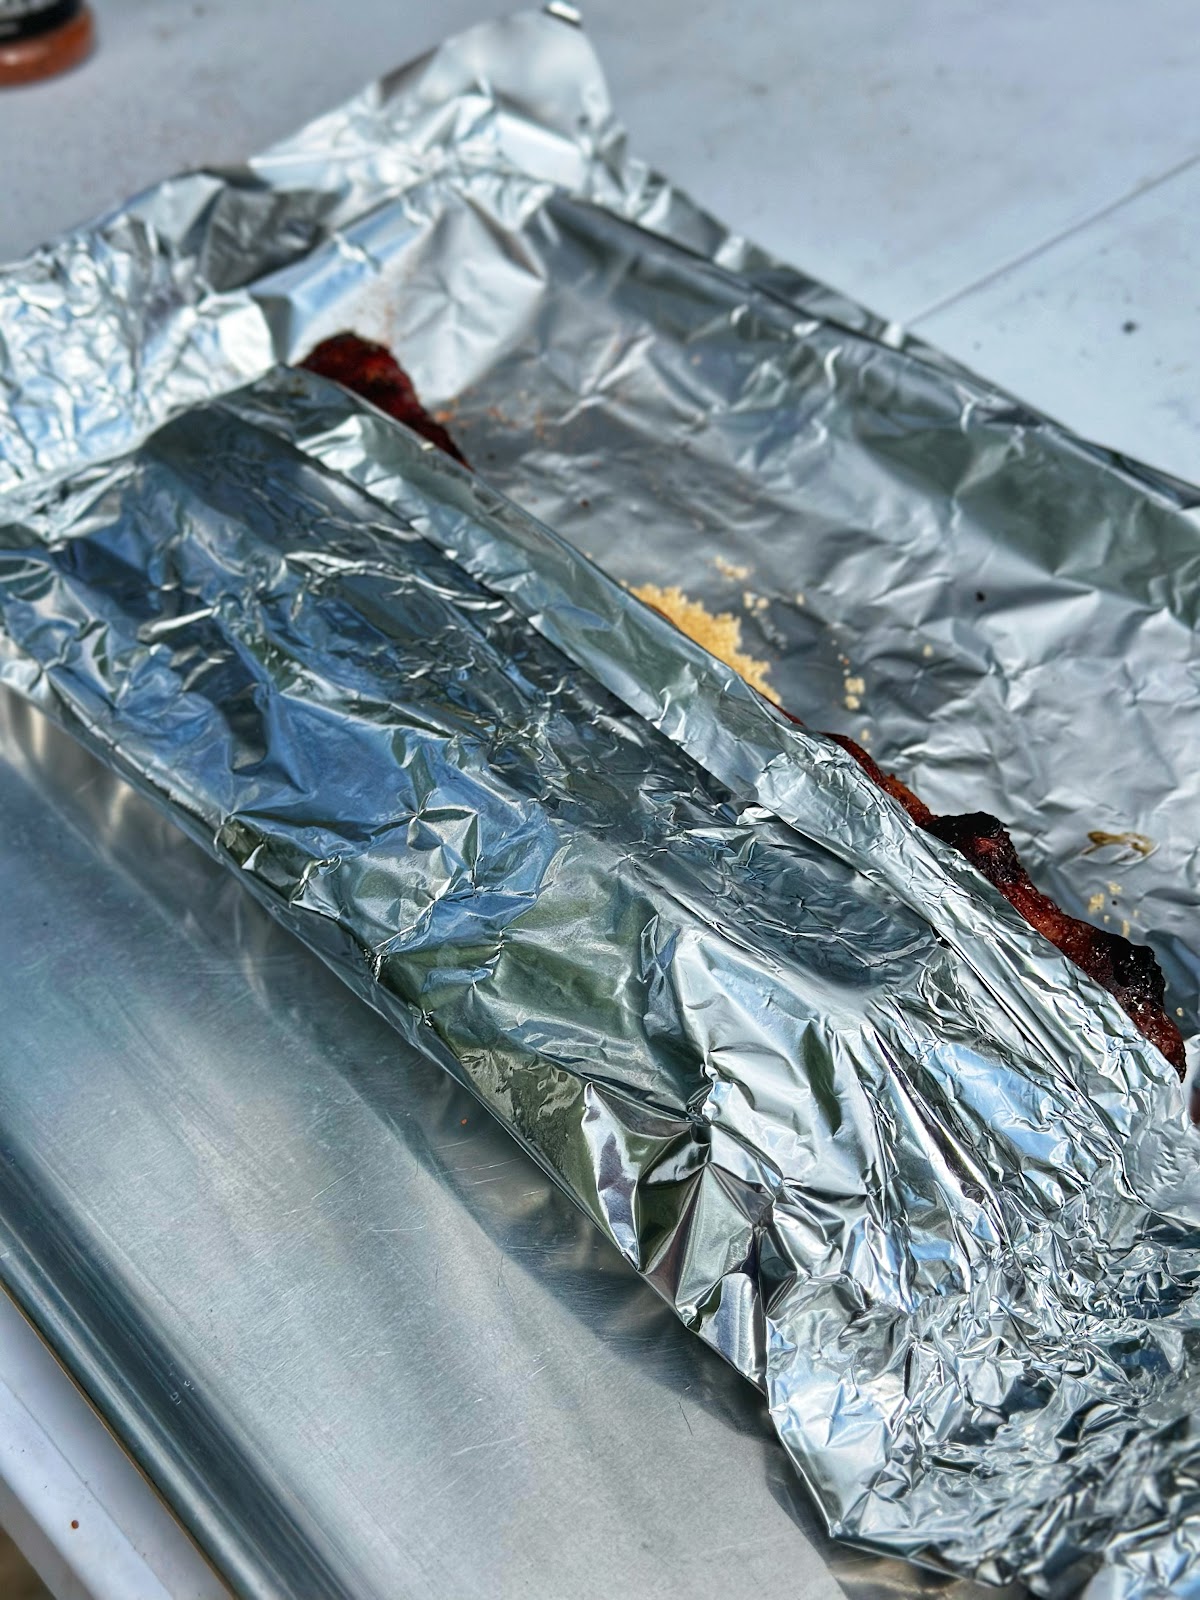
Build Your Wrap
Place a large sheet of aluminum foil on the table.
(If you're using thin foil, use two or three layers.)
Add the following ingredients:
-
A generous layer of light brown sugar
-
Plenty of honey
-
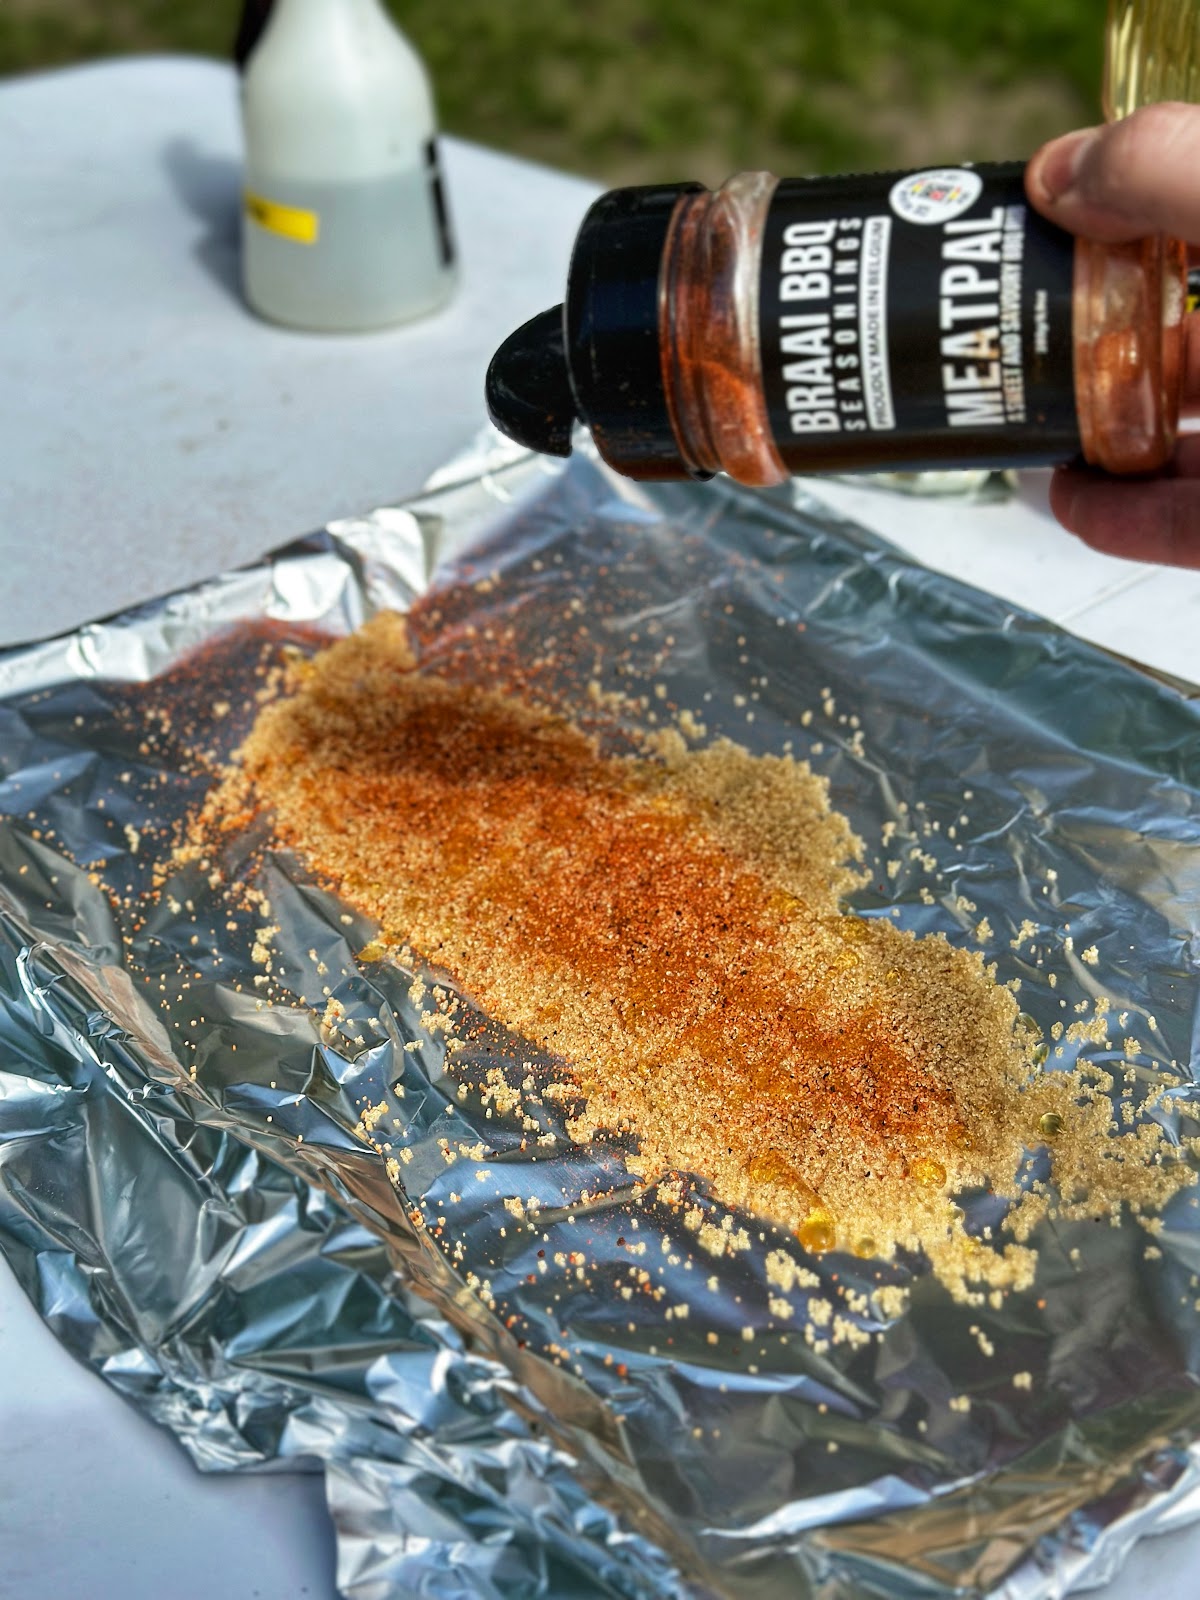
A sprinkle of Meatpal BBQ Rub
-
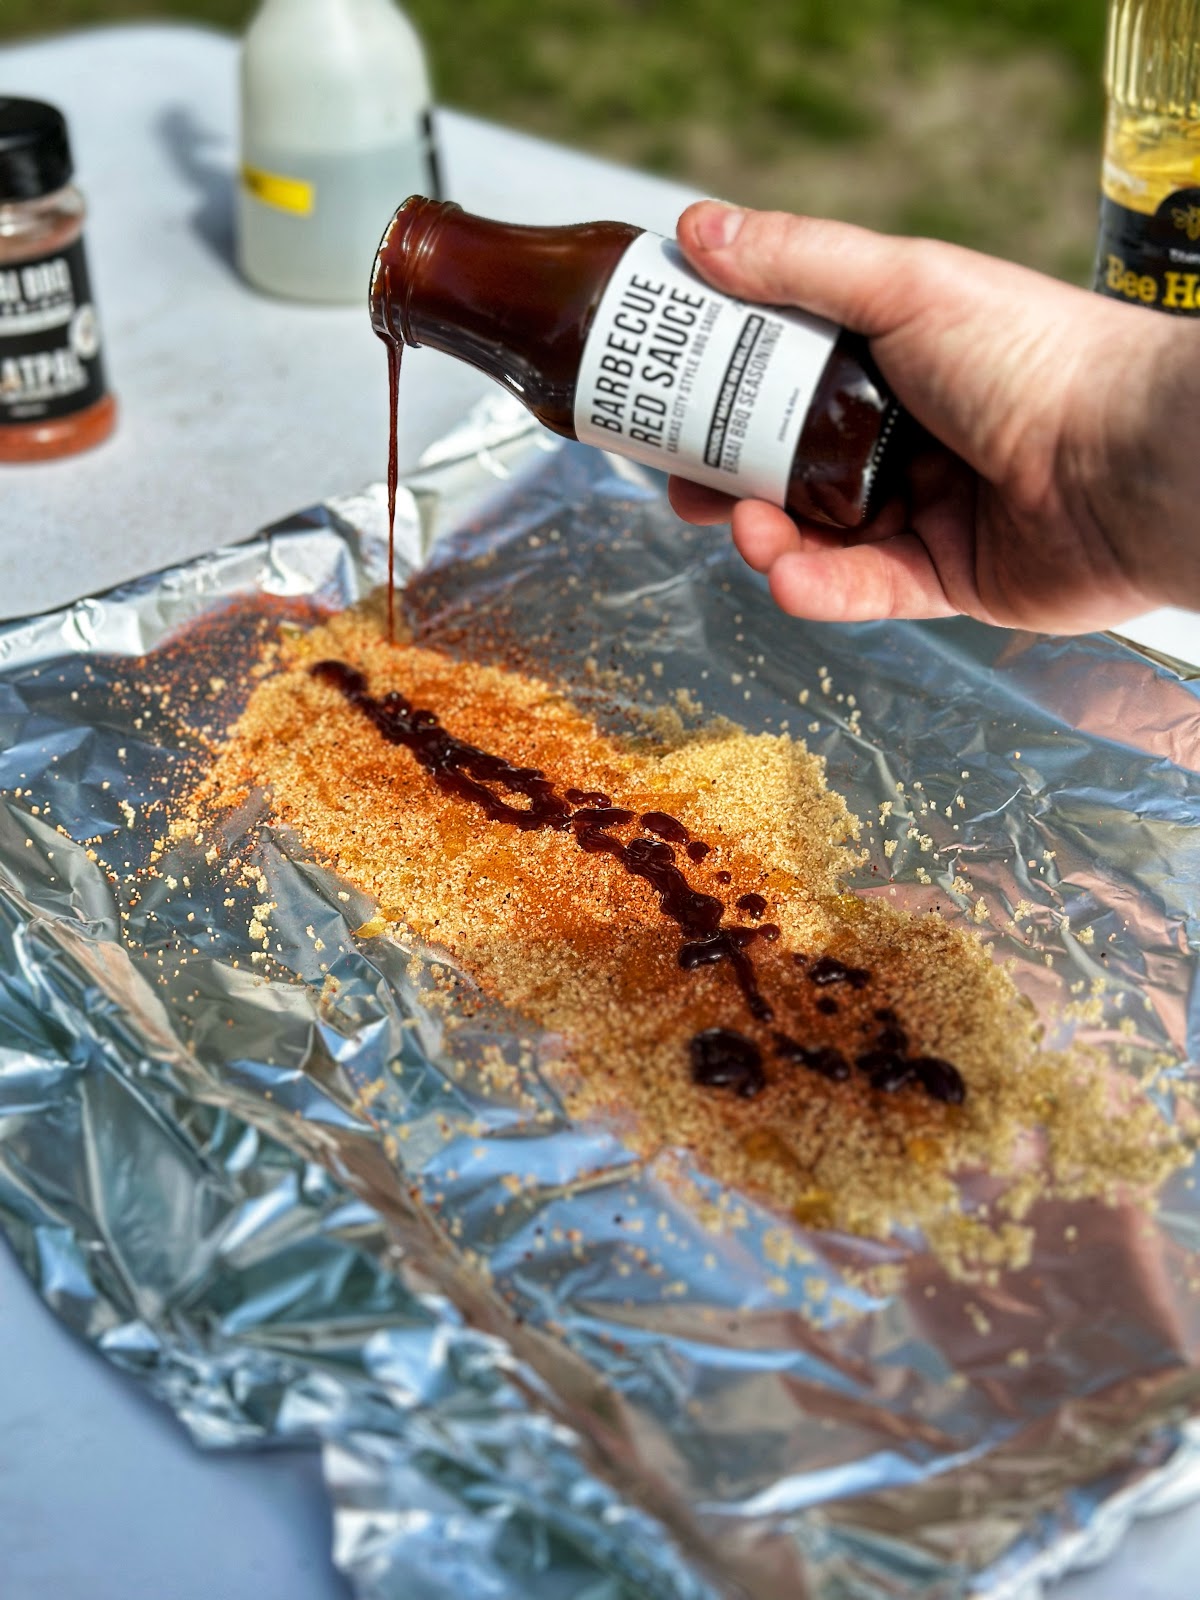
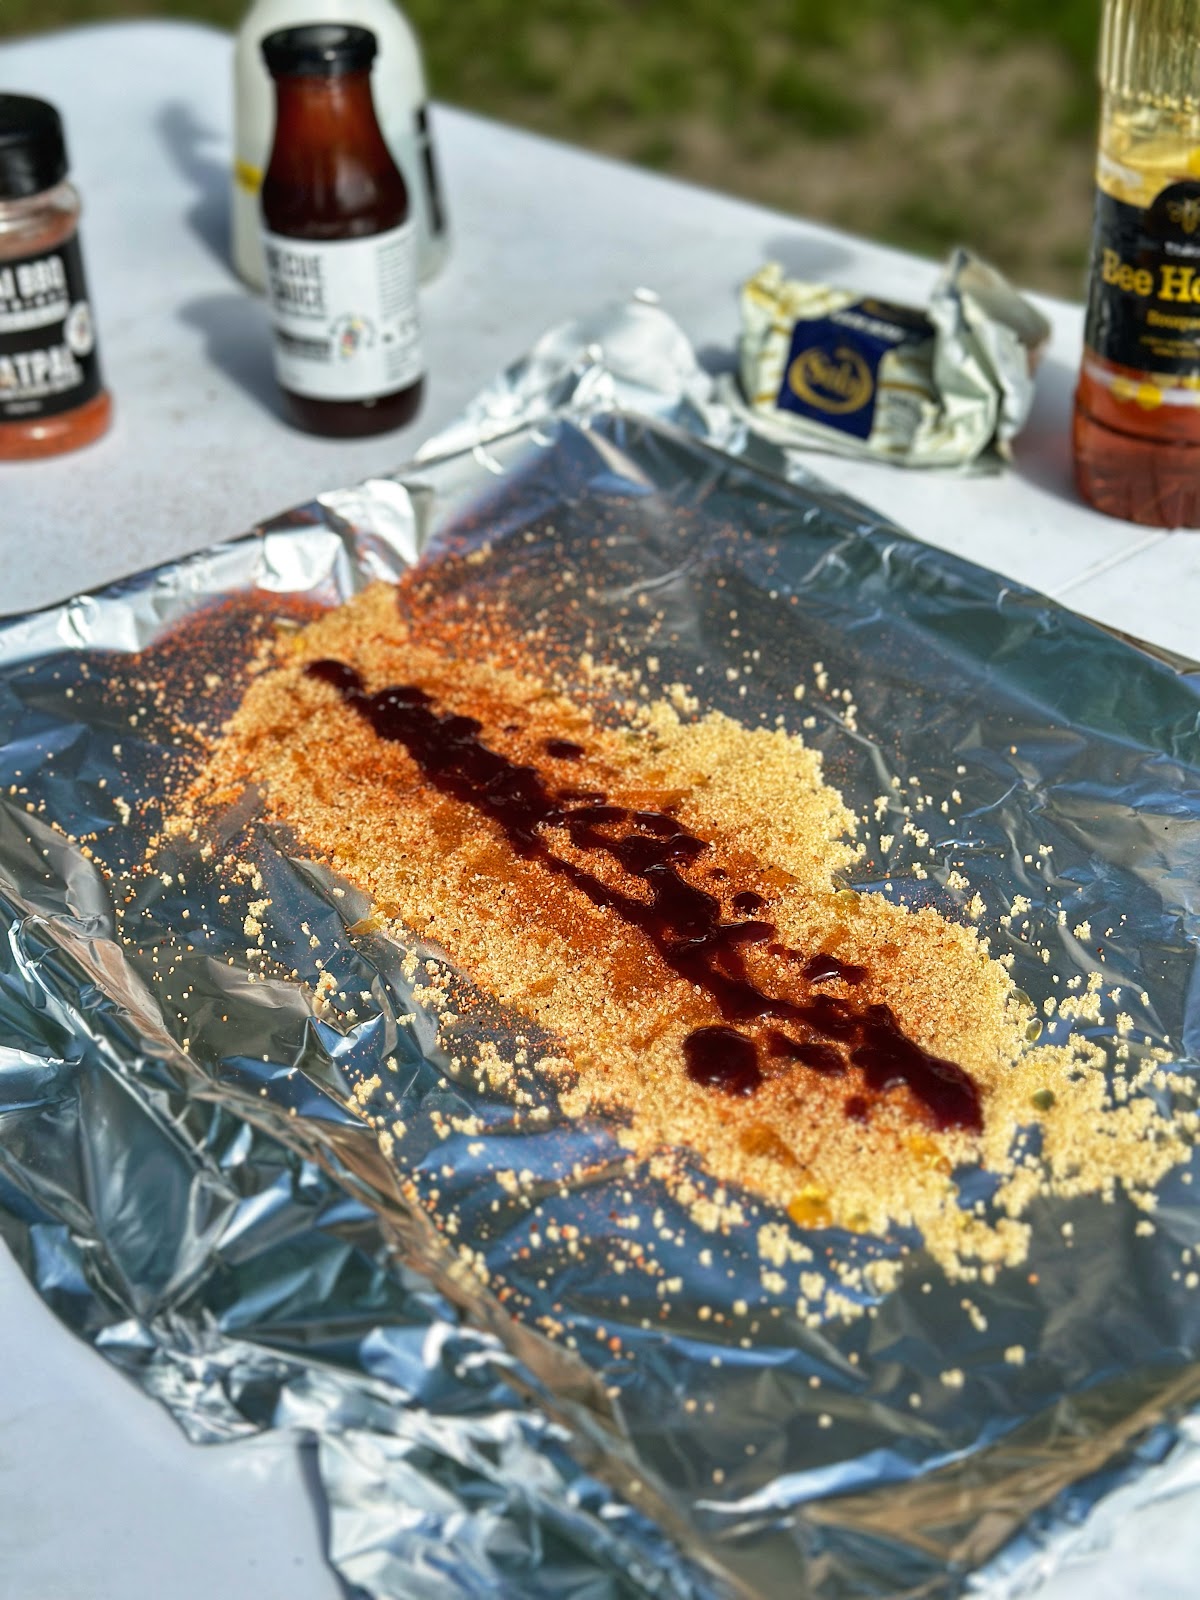
A drizzle of Braai Red Sauce
Place the ribs meat-side down on top of this mixture.
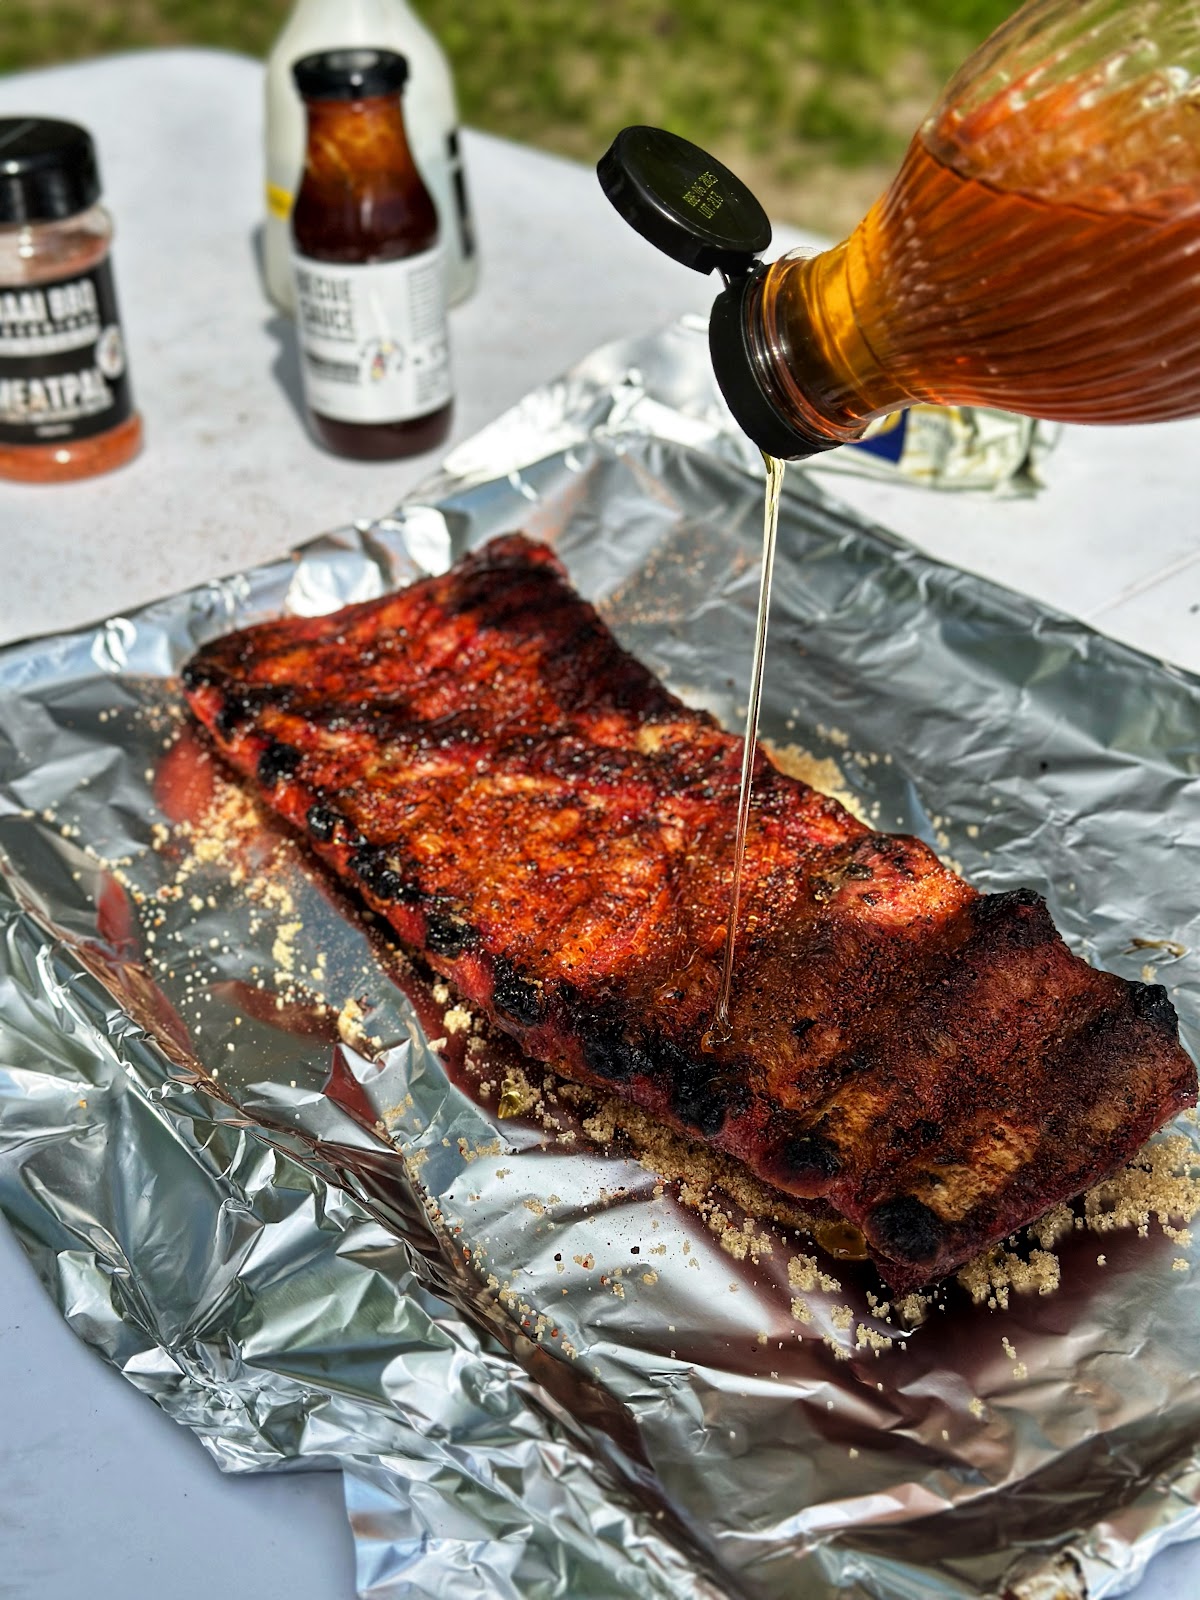
Then add:
-
More honey over the ribs
-
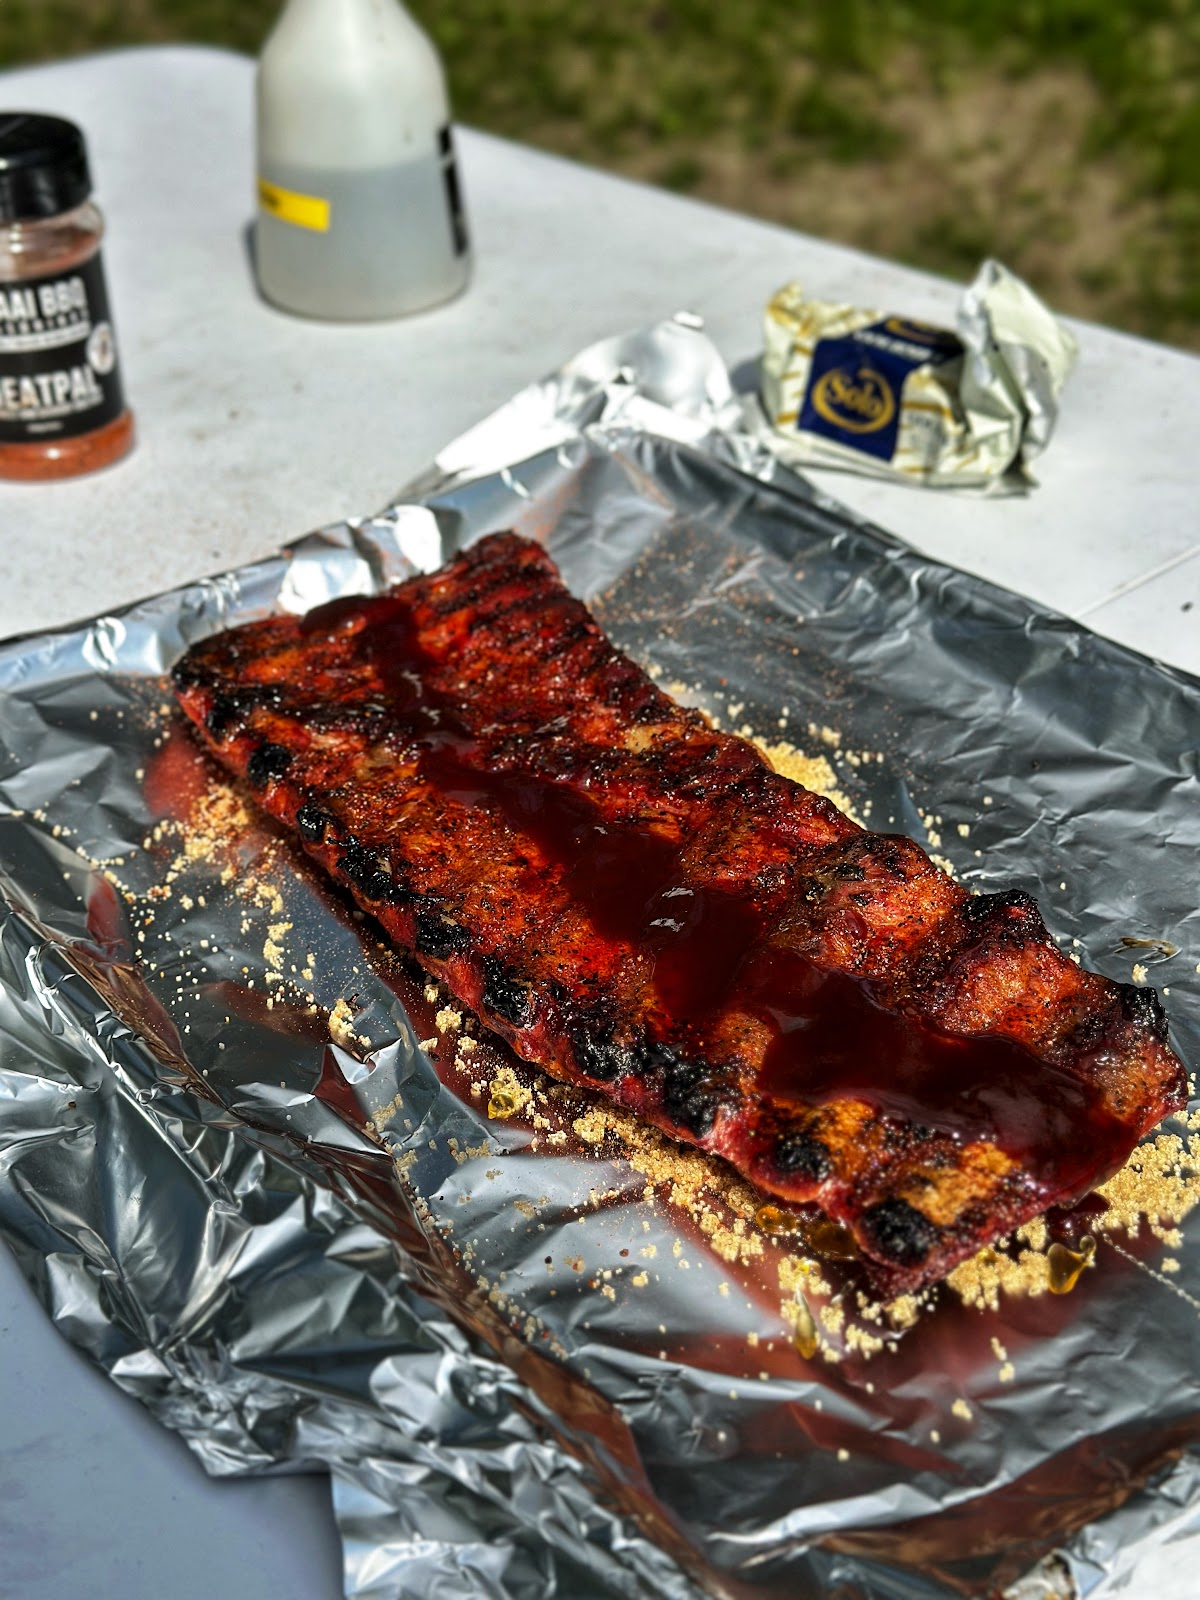
A little Braai Red Sauce
-
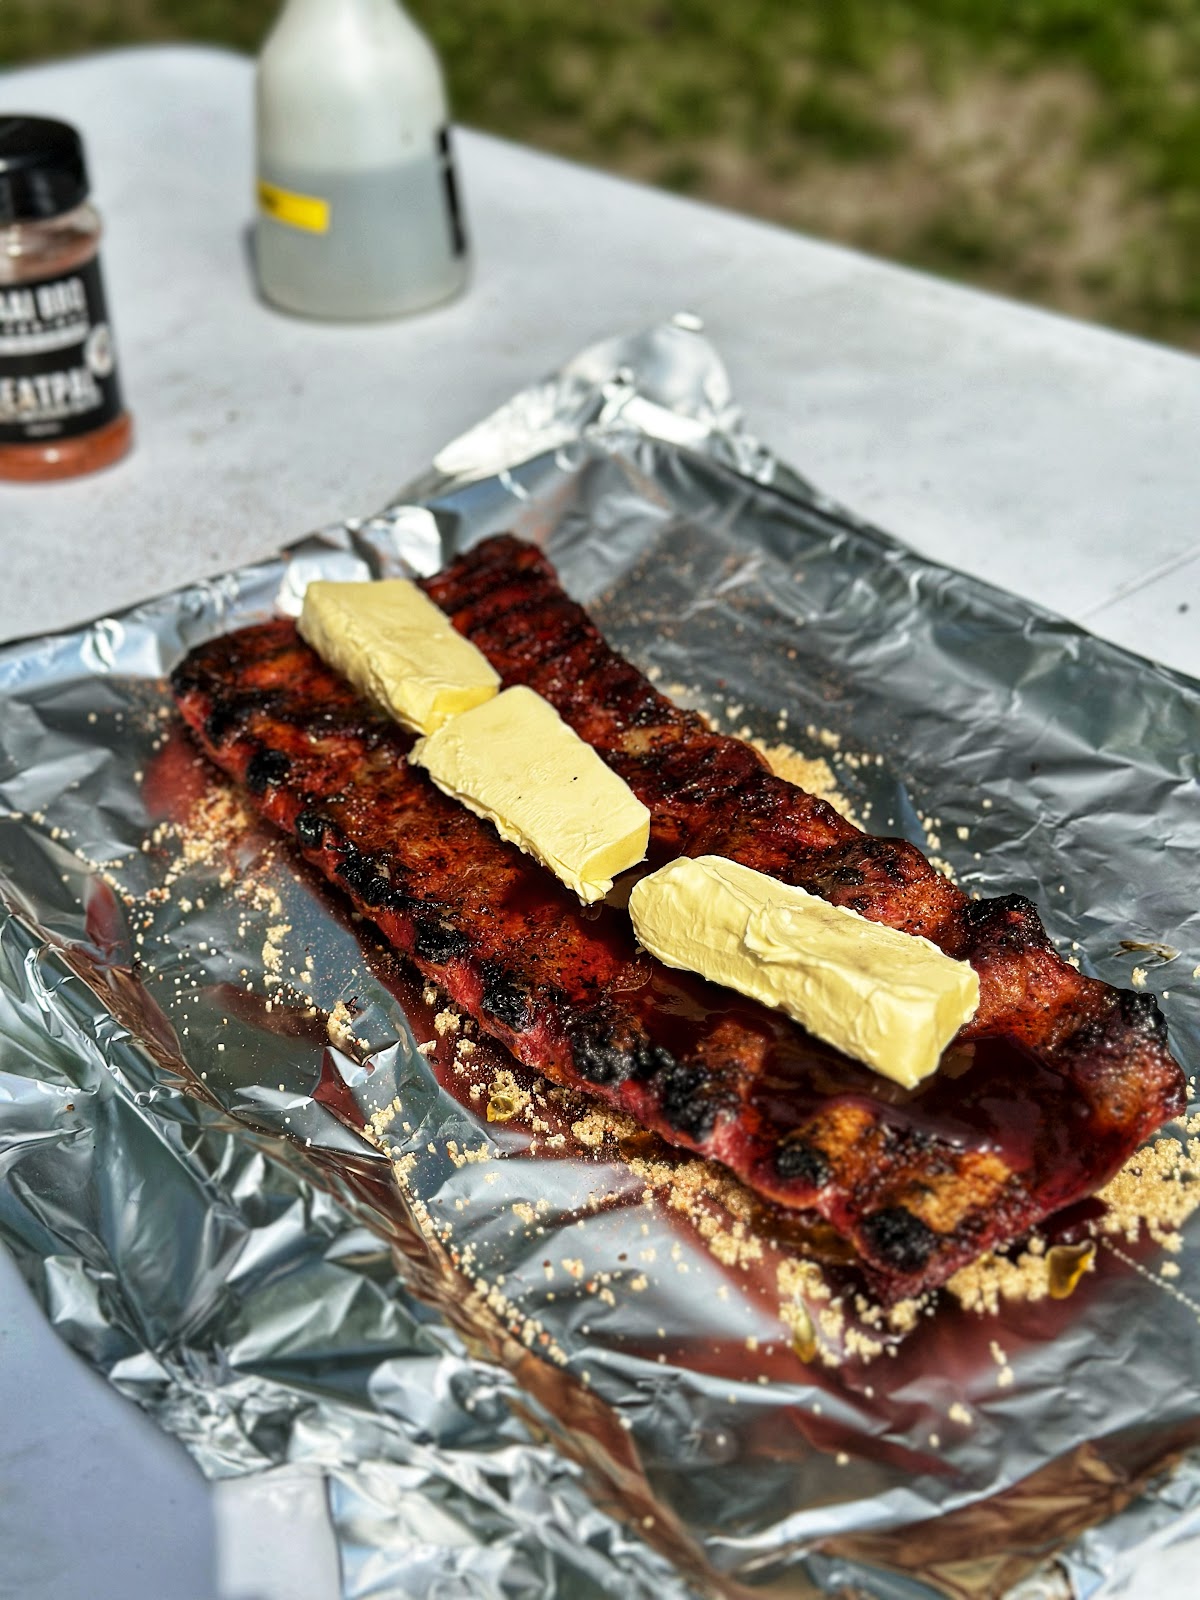
Three slices of butter
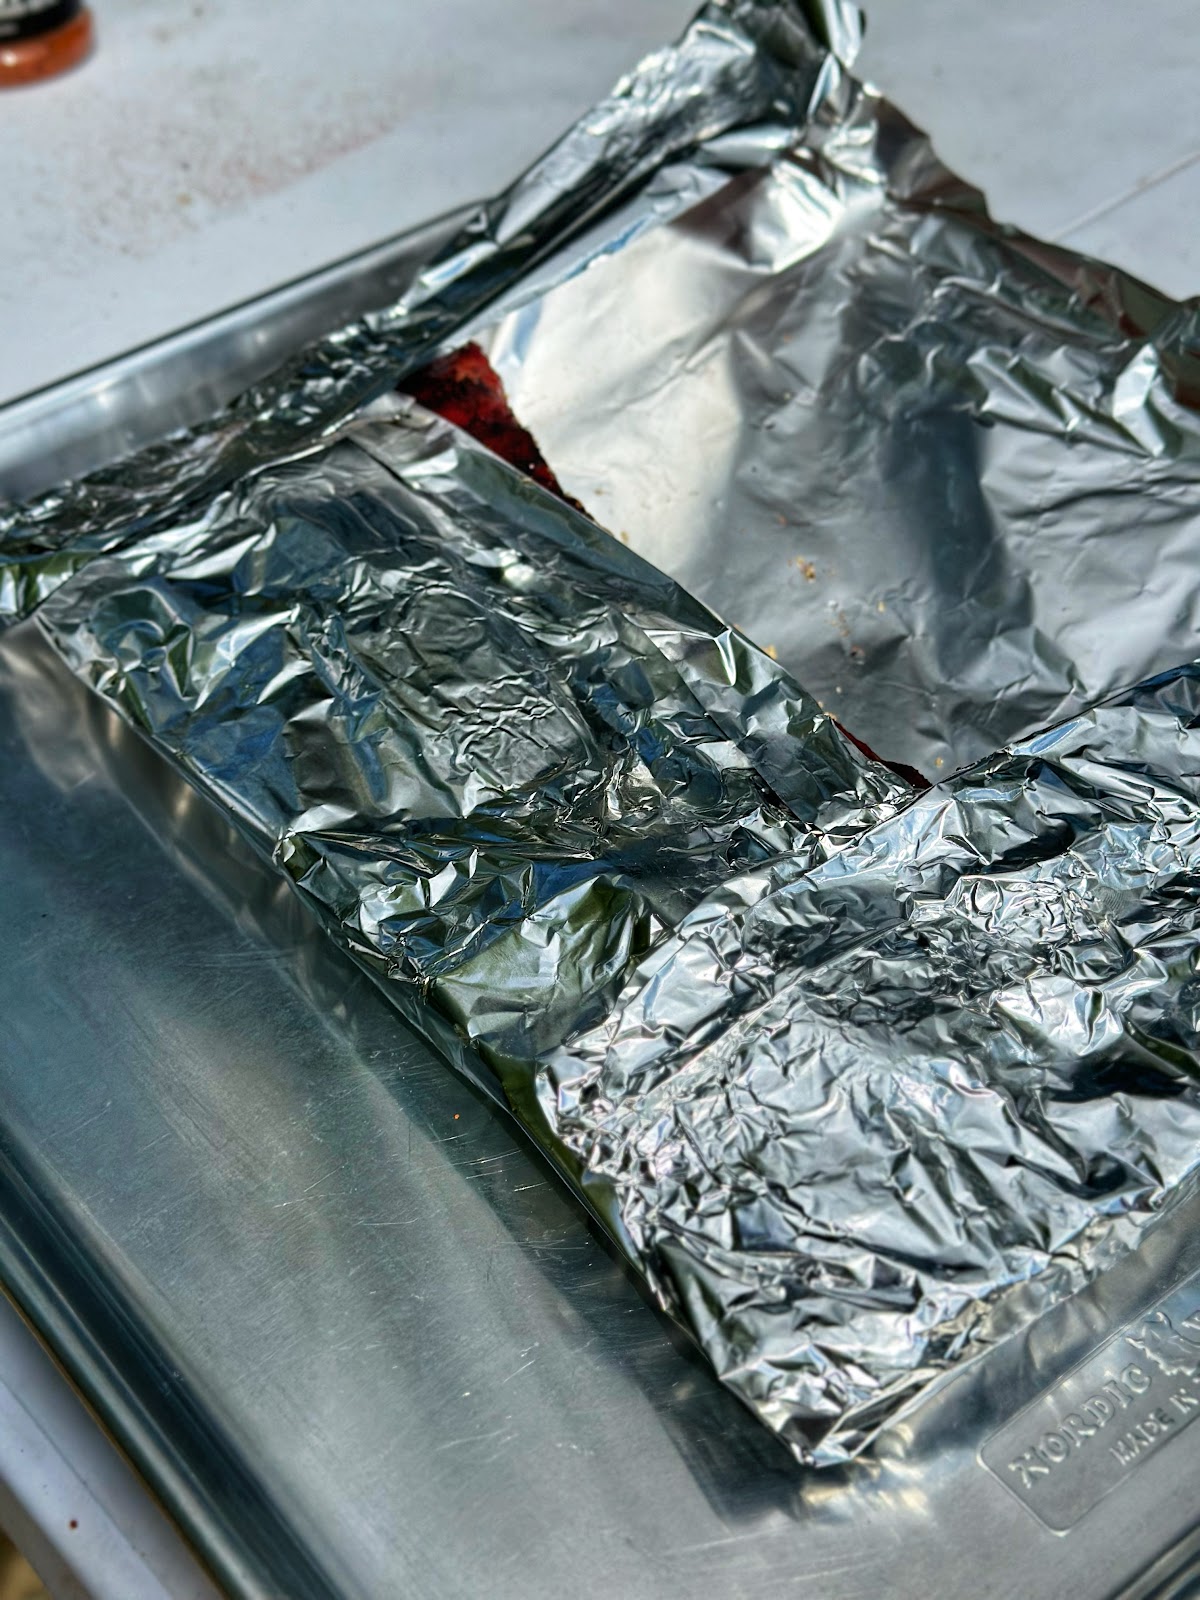
Step 6 – Seal the Package
All ingredients inside the wrap will melt together and create flavorful steam.
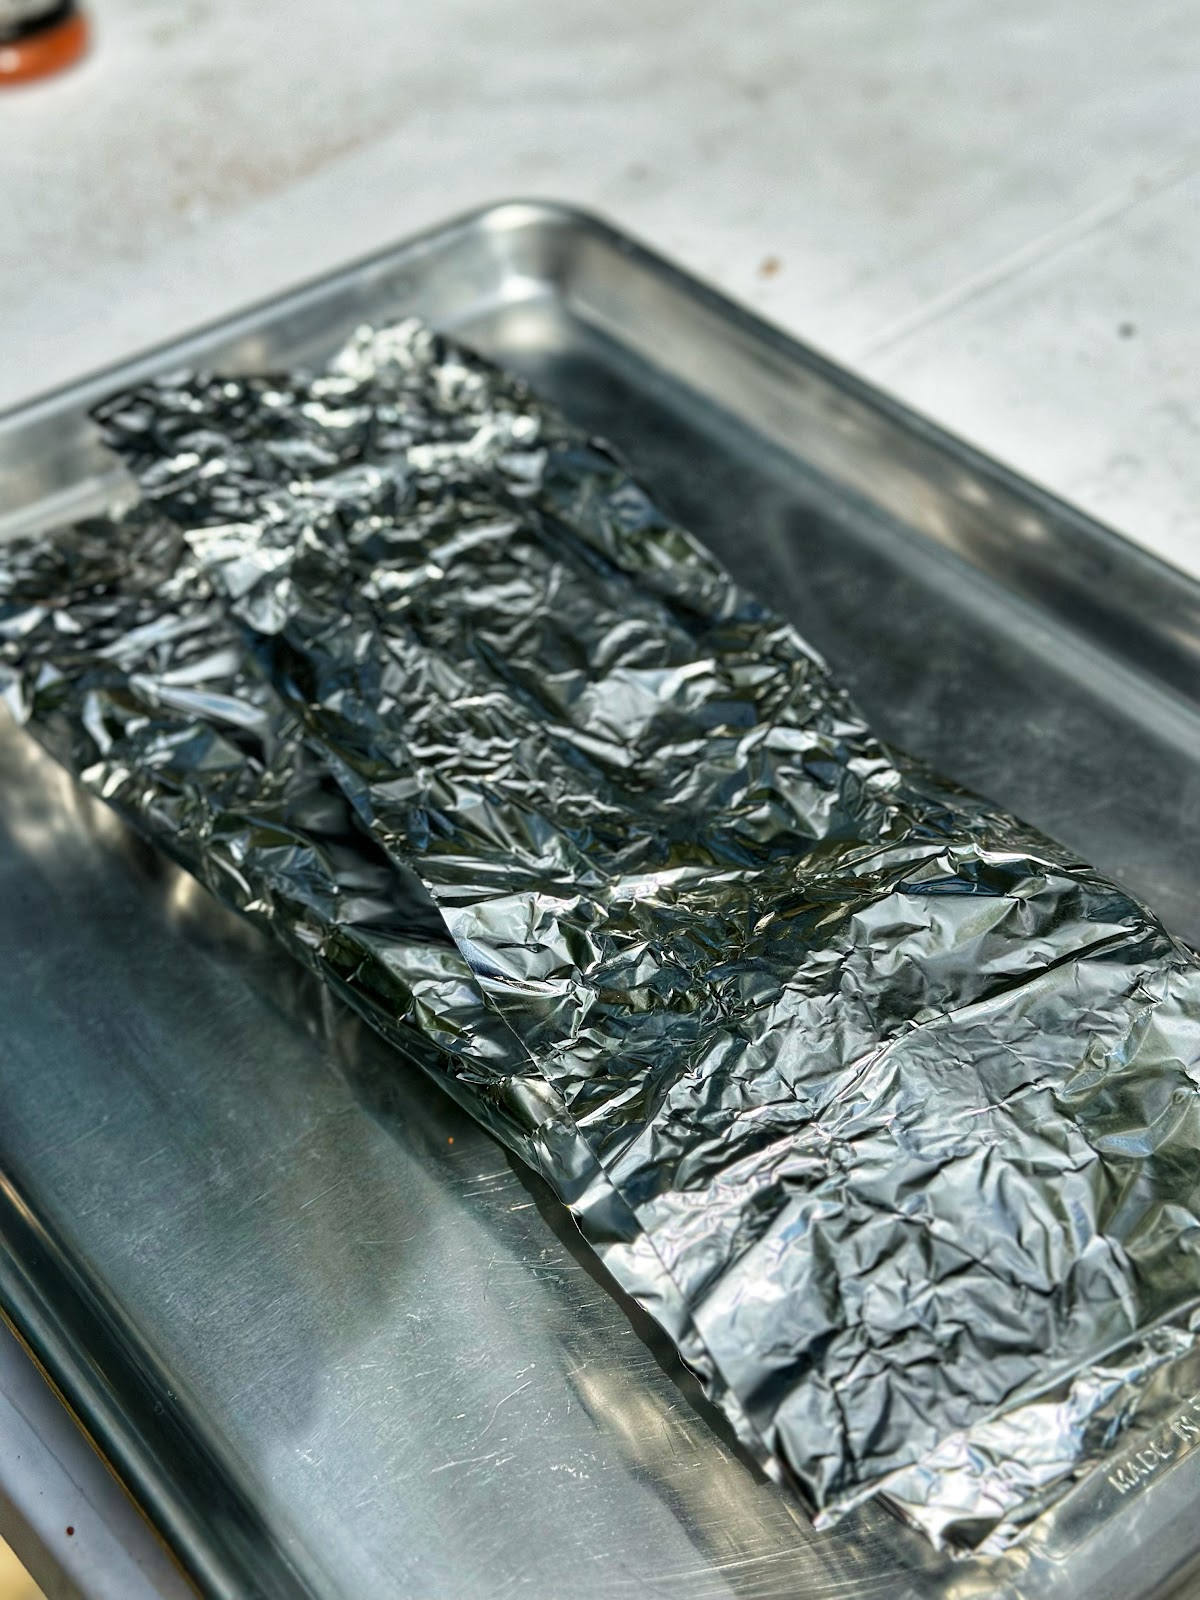
Fold the foil carefully to trap all the steam inside.
Make sure the foil doesn't tear.
The steam must remain inside the package.
Fold as follows:
-
Fold the bottom half over the ribs.
-
Fold both sides inward.
-
Fold the top half over the ribs.
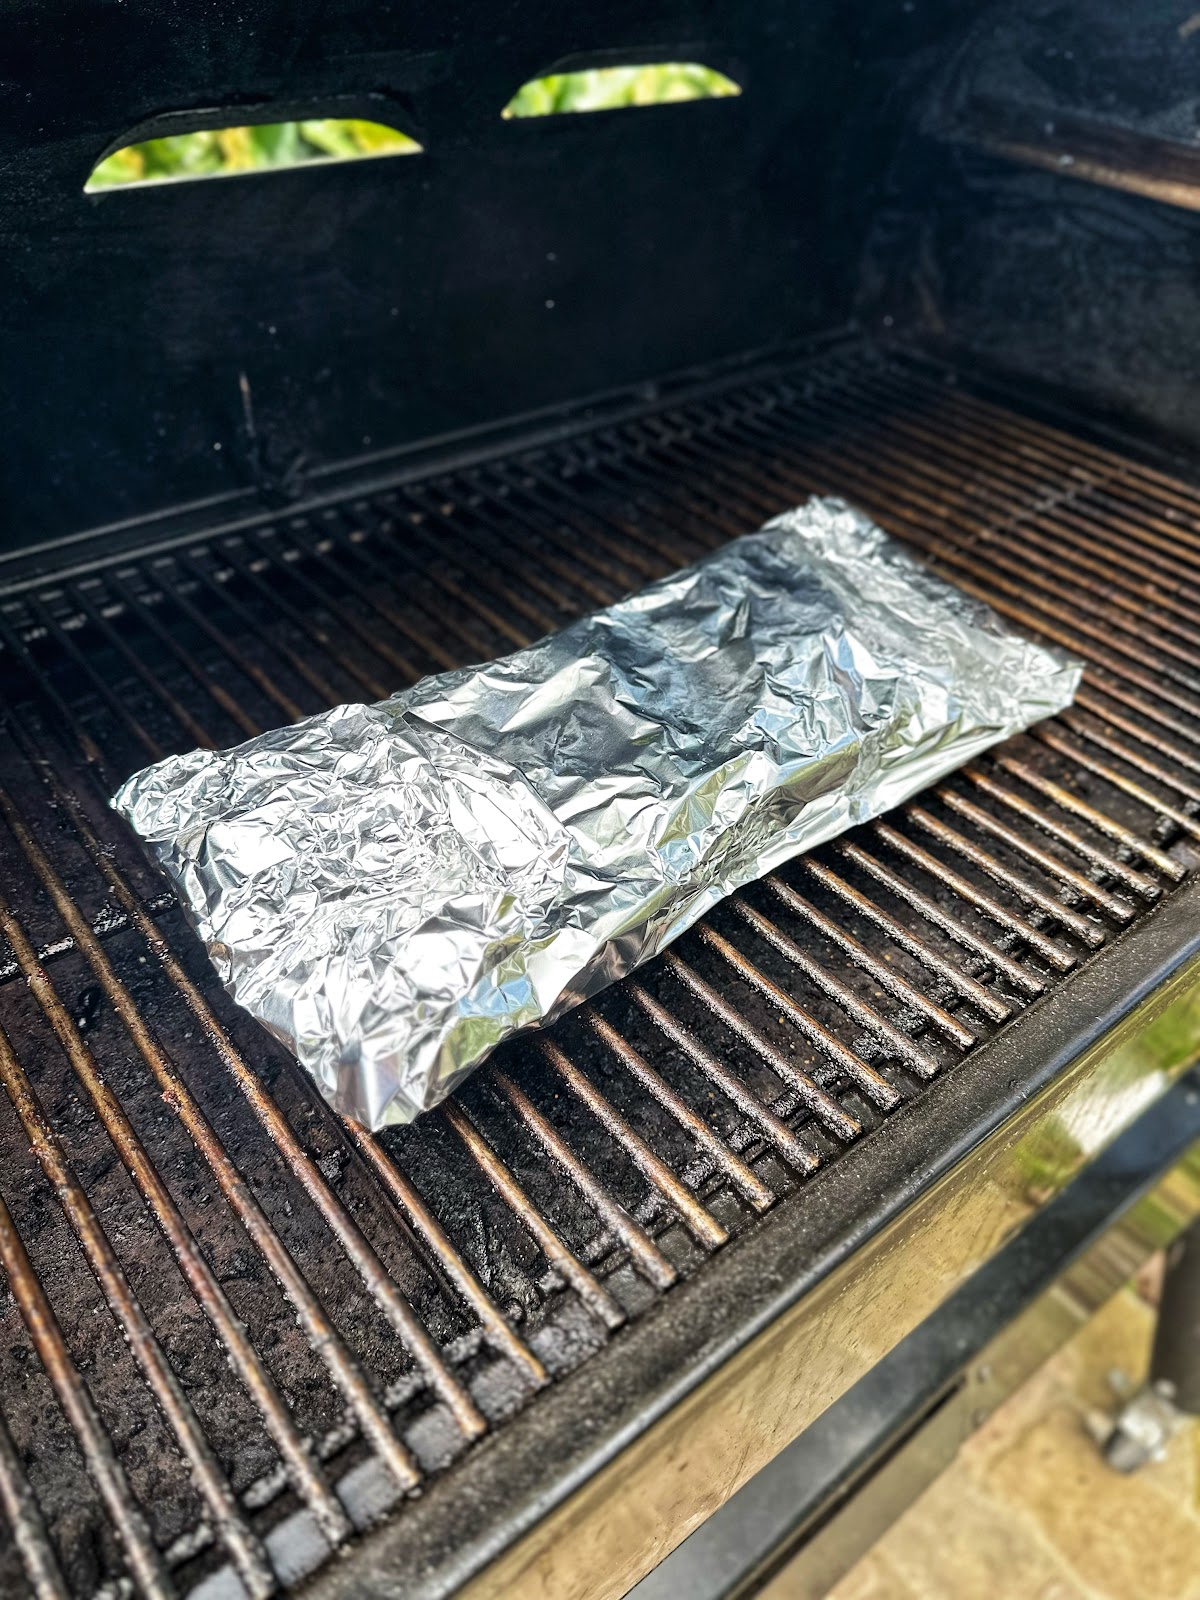
Step 7 – Cook Until Butter Tender
Return the wrapped ribs to the smoker and increase the temperature to 140°C (285°F).
As you can see, we cook in two phases:
-
Phase 1: 120°C (250°F)
-
Phase 2: 140°C (285°F)
The goal of the second phase is to cook the ribs until they become literally butter tender.
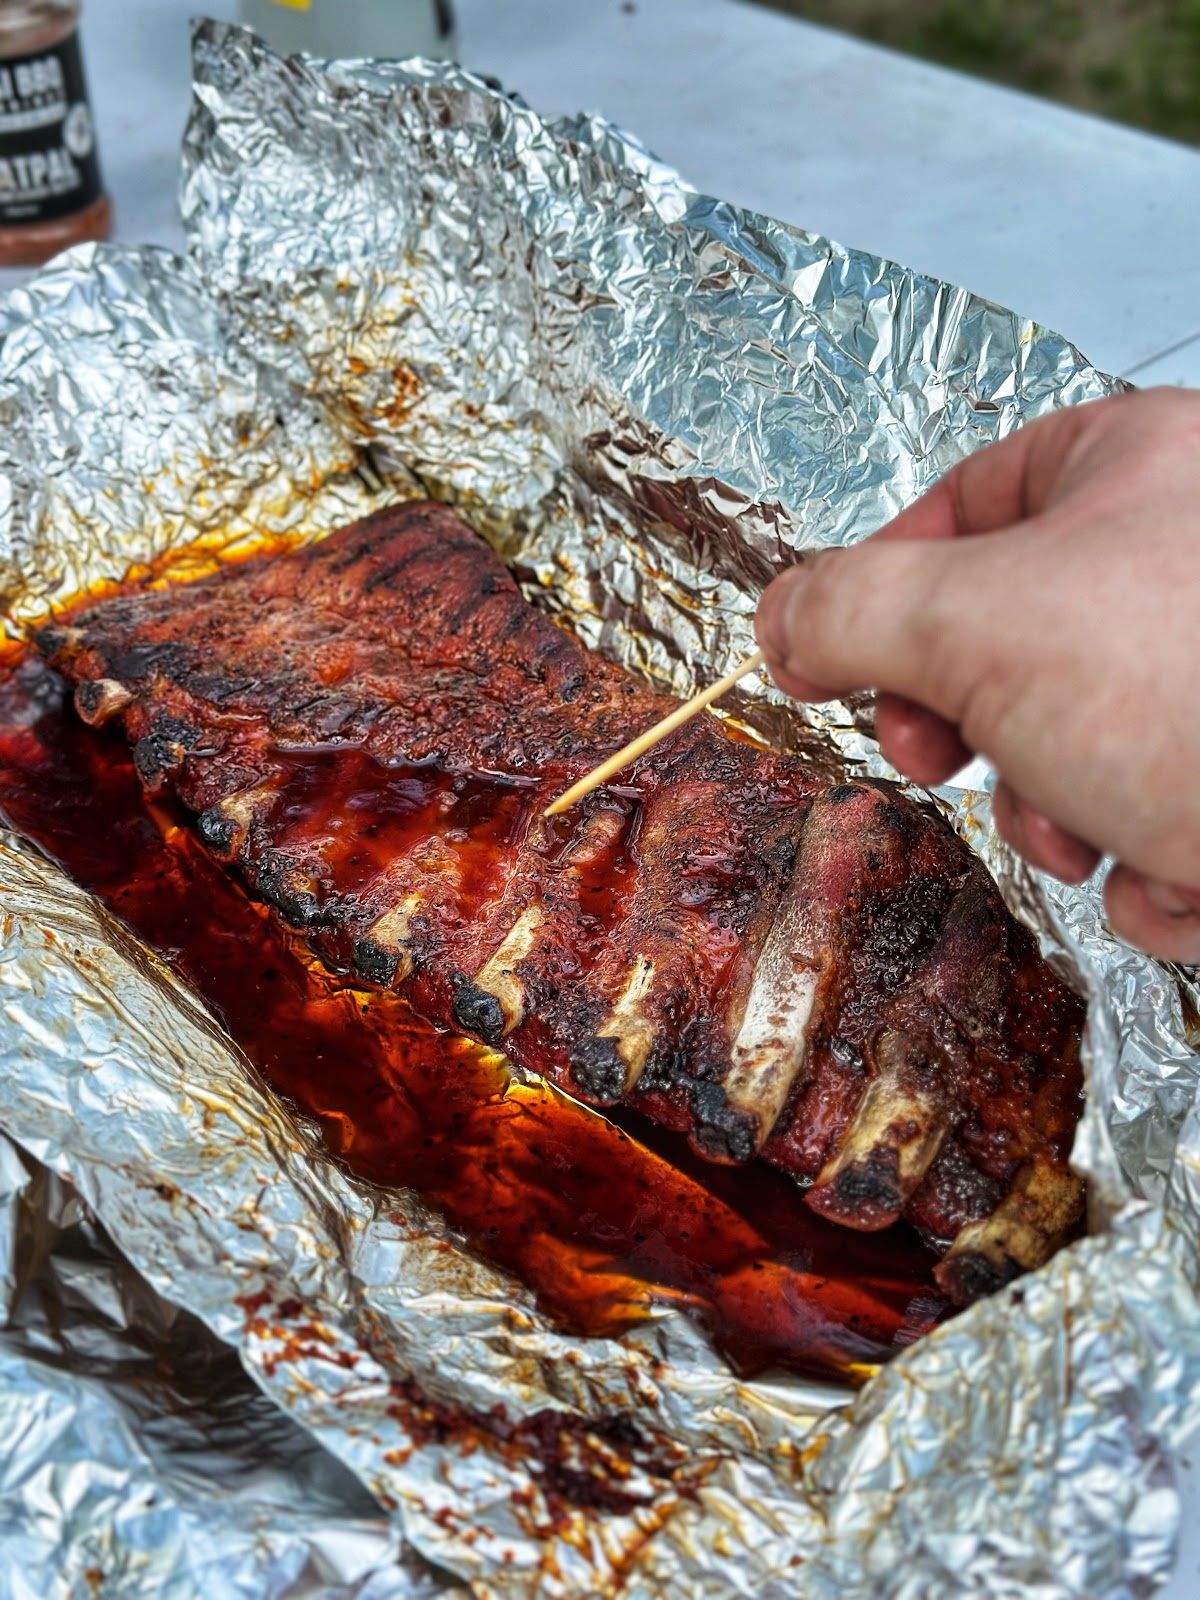
After 40 minutes, perform your first tenderness test.
Remove the package from the smoker and insert a toothpick between the bones.
If it slides in effortlessly—like pushing a toothpick into butter—the ribs are perfectly cooked.
If you still feel resistance, re-wrap the ribs and return them to the smoker.
Repeat the test every 20 minutes until they're ready.
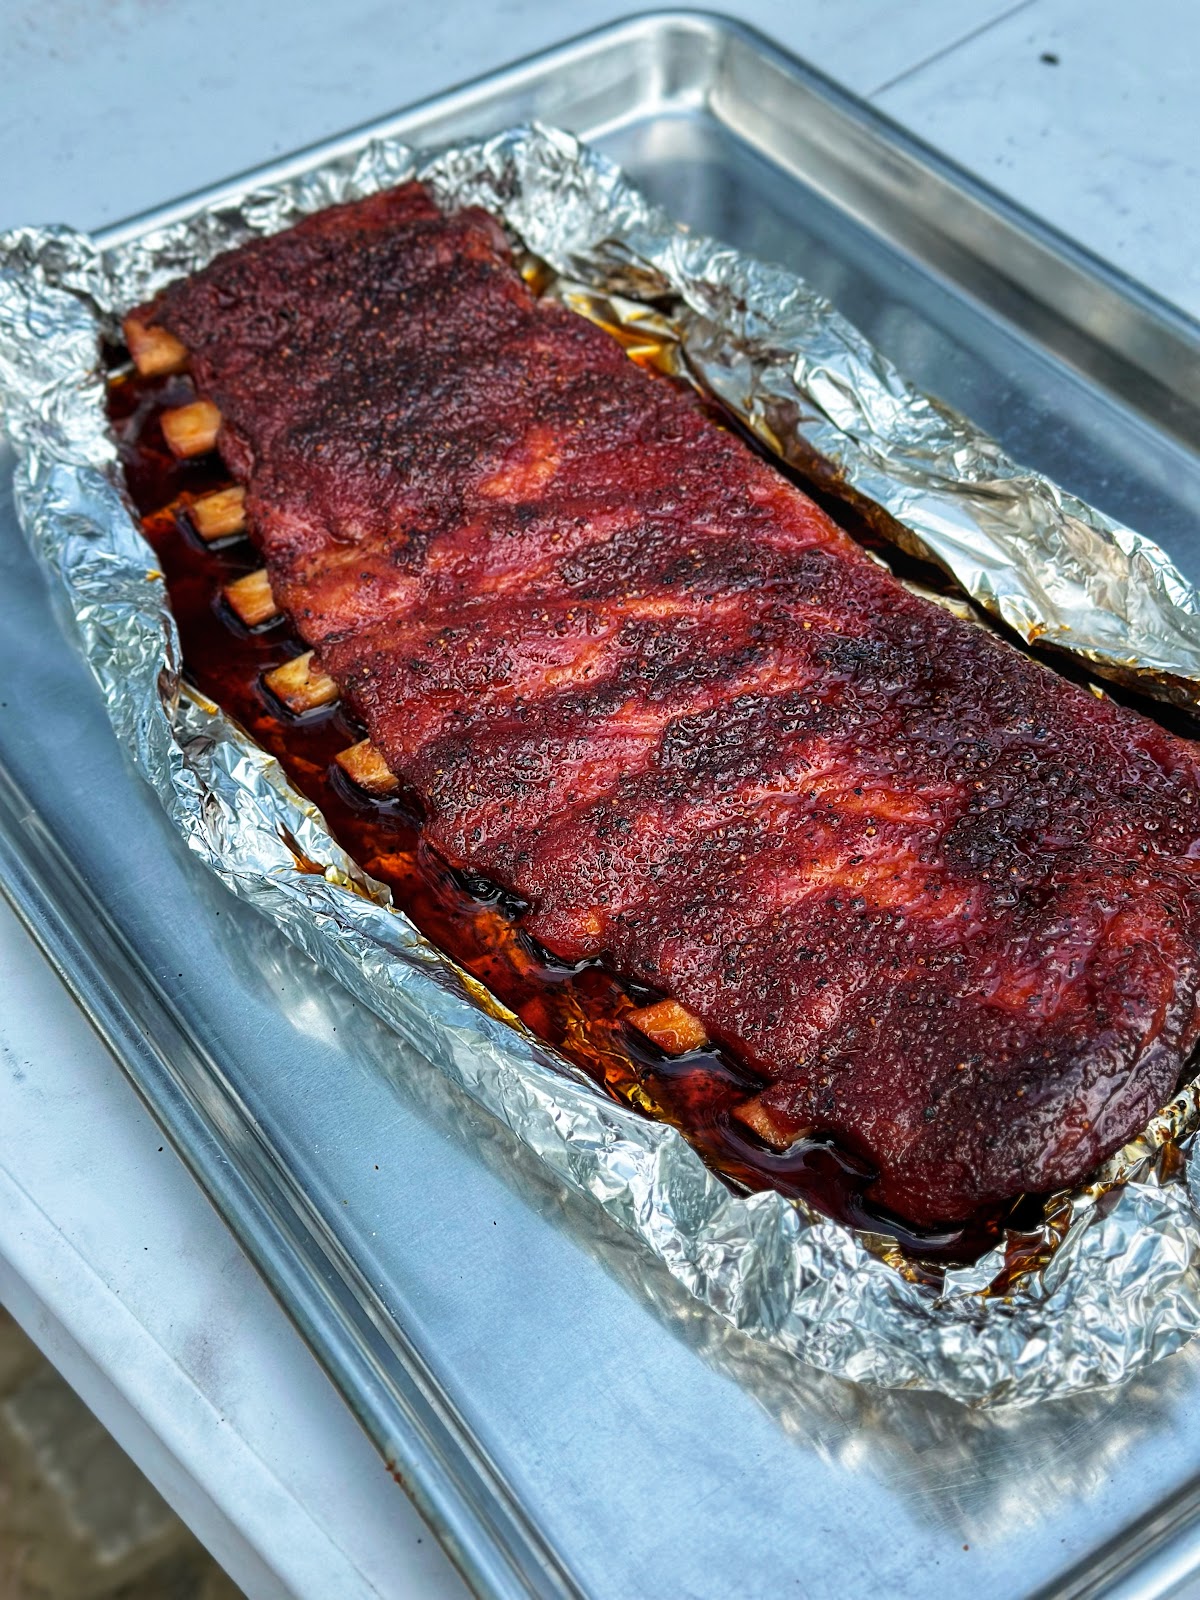
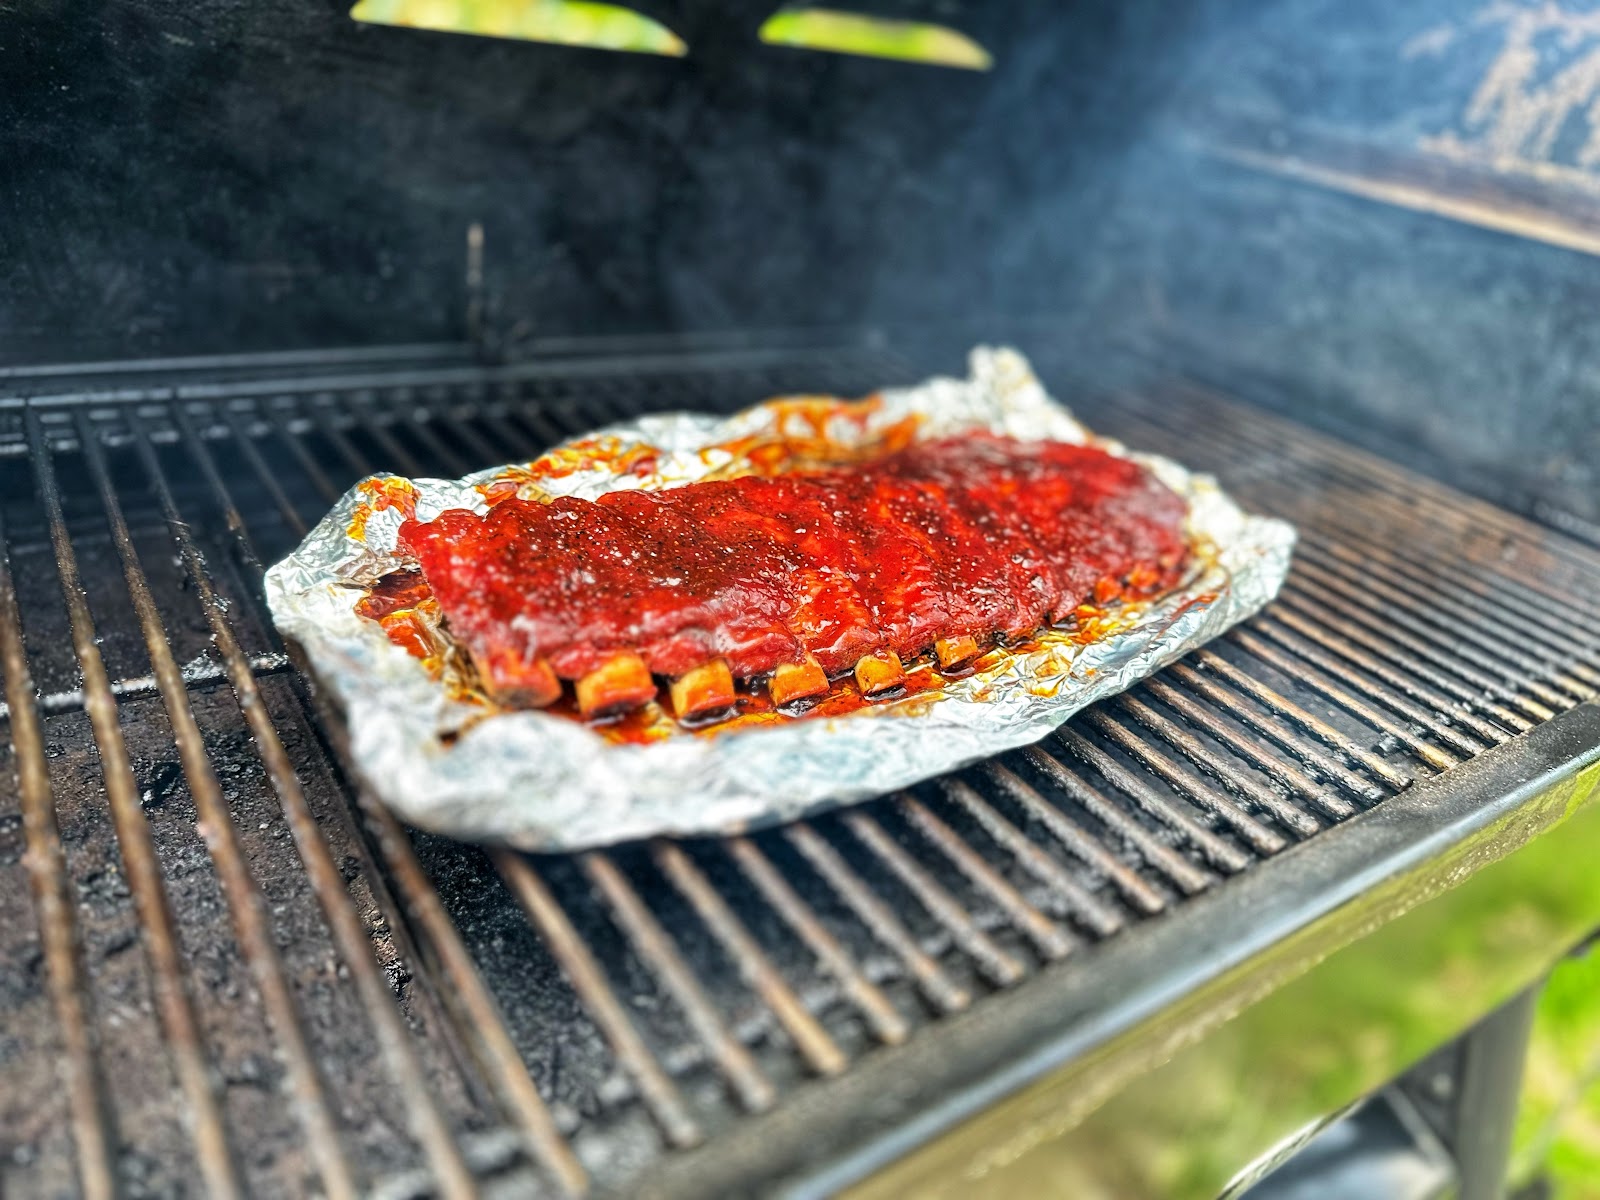
Step 8 – Glazing the Ribs
Before serving, we'll finish the ribs with a glaze.
Reduce your smoker temperature back to 120°C (250°F).
Open the foil package and fold up the sides to create a foil boat.
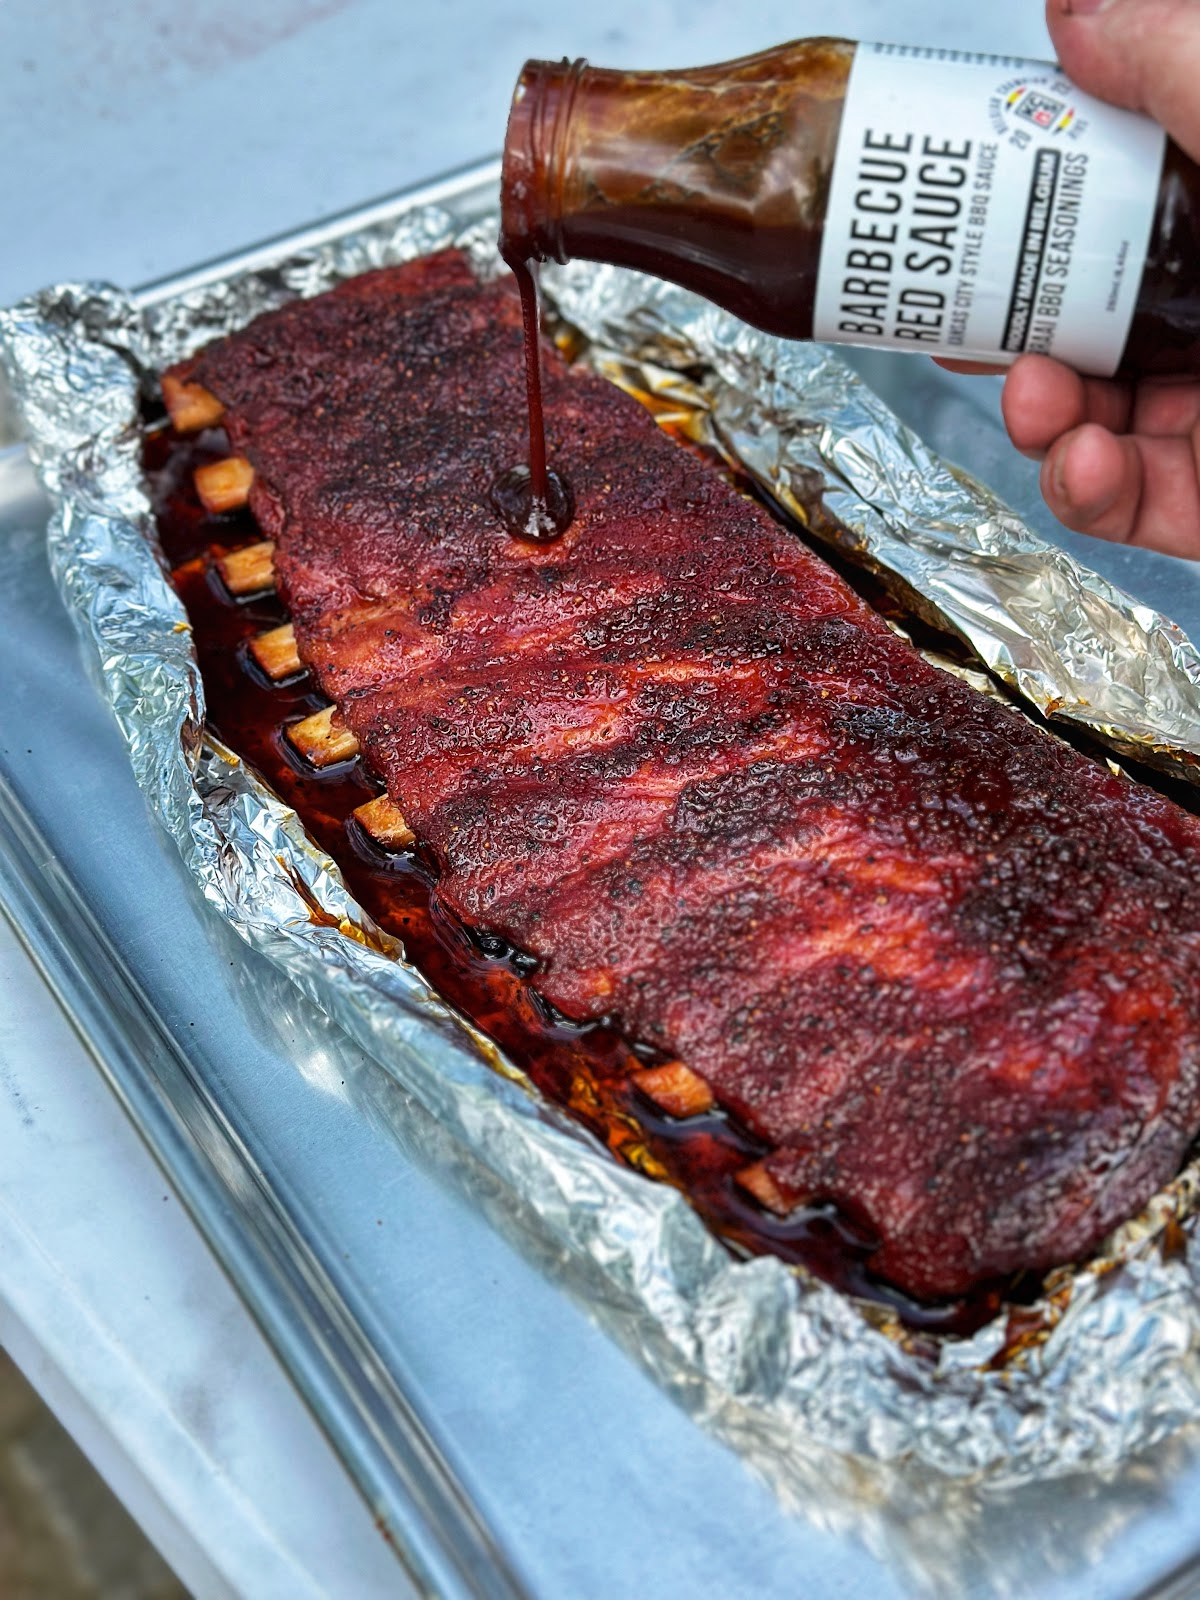
Pour a generous amount of Braai Red Sauce over the ribs and spread it evenly using a basting brush.
Pro Tip
Avoid silicone brushes.
They tend to leave visible streaks in the glaze.
A traditional basting brush with fine bristles provides a much smoother finish.
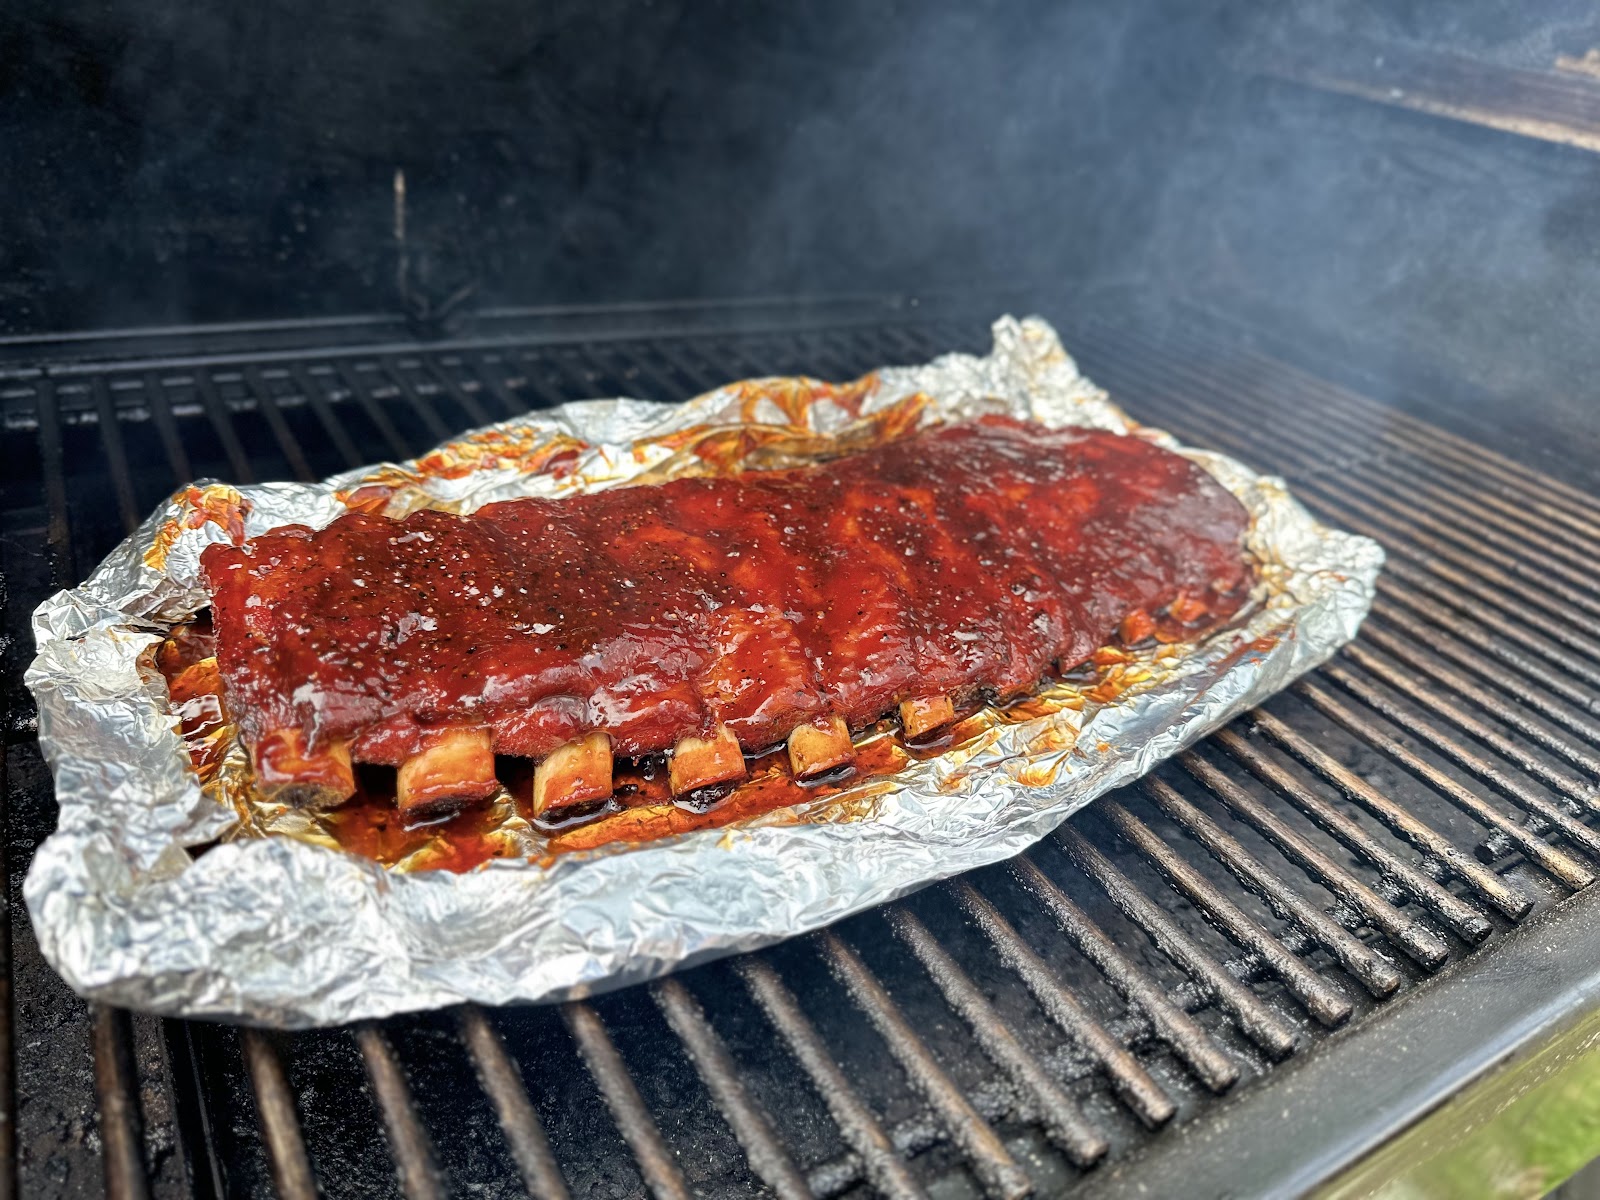
Step 9 – Set the Glaze
Place the ribs back on the smoker while still sitting in the foil boat.
Allow the sauce to glaze for 7 to 10 minutes.
If you're cooking on a Kamado, add a little extra smoking wood so the glaze can absorb additional smoke flavor.
How Do You Know They're Perfect?
Your ribs are now fully cooked according to competition-level BBQ standards.
To test your result, cut off a single rib bone and take a bite.
Perfect Ribs
You can bite through the meat easily, but the entire piece does not fall off the bone.
Overcooked Ribs
If all the meat comes off the bone when you bite, the ribs are overcooked.
They may still taste great, but they are technically overdone.
Undercooked Ribs
If the meat is difficult to bite through and doesn't release easily from the bone, the ribs need more cooking time and the toothpick test wasn't passed.
For any questions about this recipe or BBQ in general, feel free to contact me through my social media channels.
Enjoy your ribs and happy smoking!

|
|